How to Create Archival Descriptions
Top-level archival descriptions
Before you start creating a Collection, please make sure you are working in your Admin profile. A good idea would be to review the information and tips & tricks described earlier.
Collections are held by archival institutions, therefore you need to go to the respective archival institution’s page to create an archival description. For this example, we have decided to work on Italy.
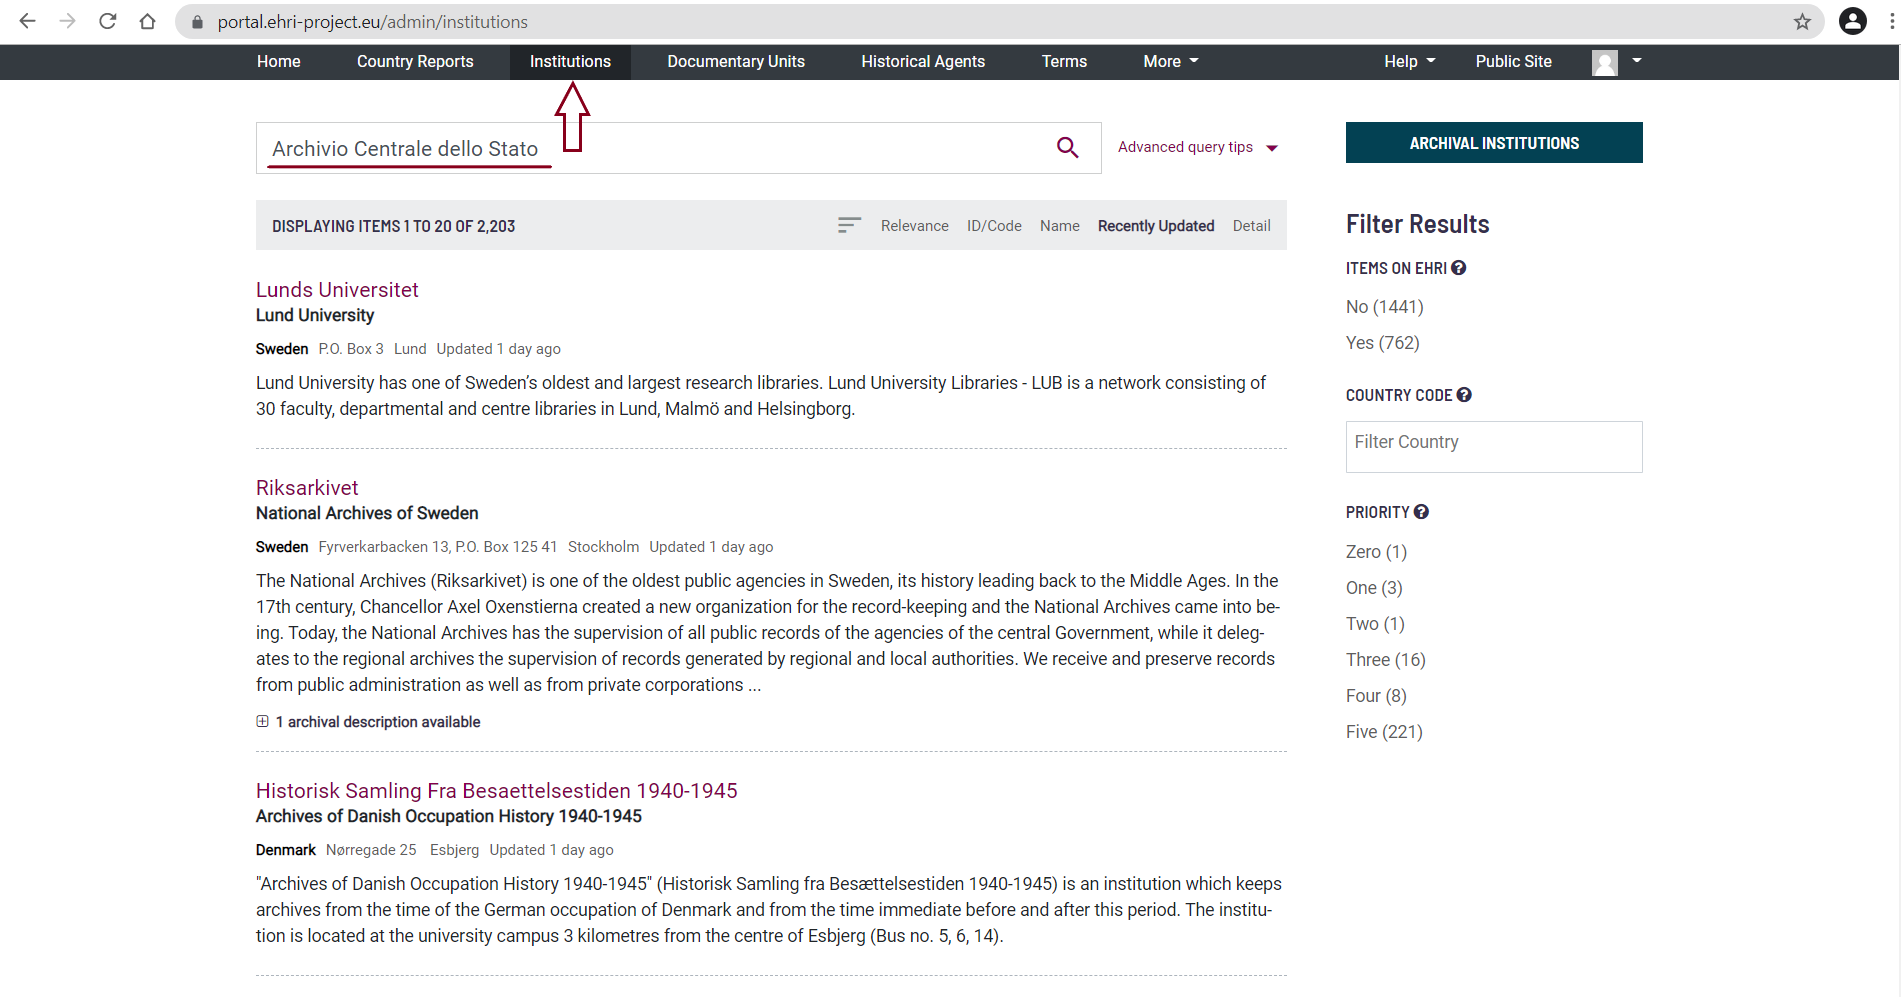
You can find the archival institution either by using the general search box, by using the search box at ‘Institutions’ (top of the webpage)...
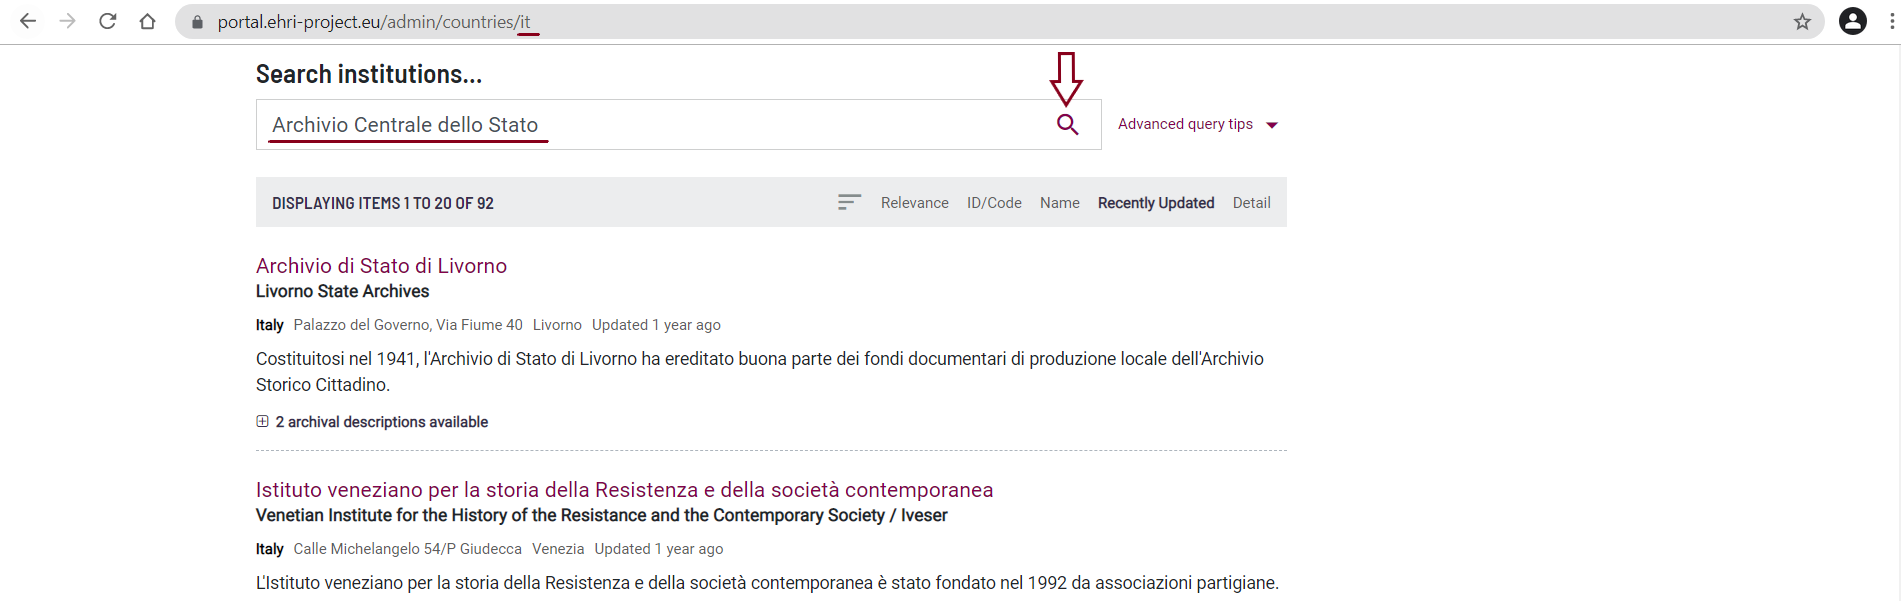
… or by using the search box at the ‘Country Report’ page of the country:
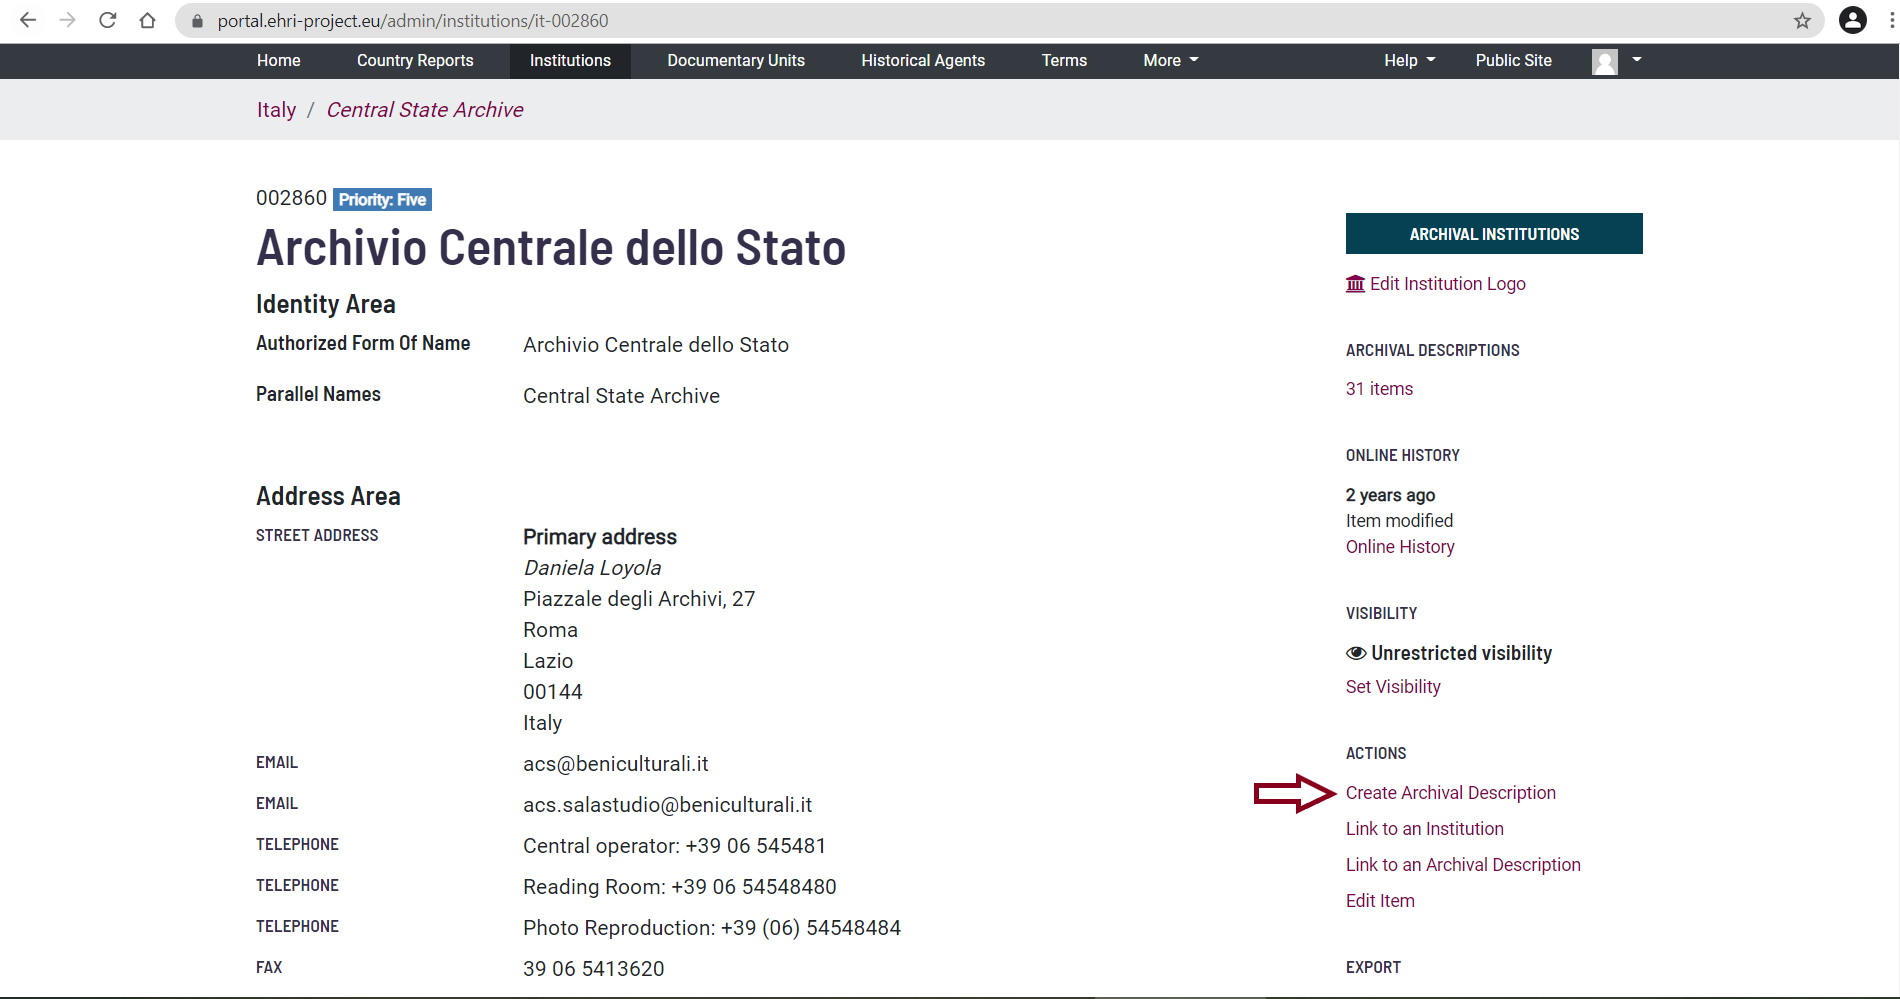
Once you have identified the relevant archival institution, you can create a top-level archival description by clicking on ‘Create Archival Description’:
After which, you will be directed to an editing page:
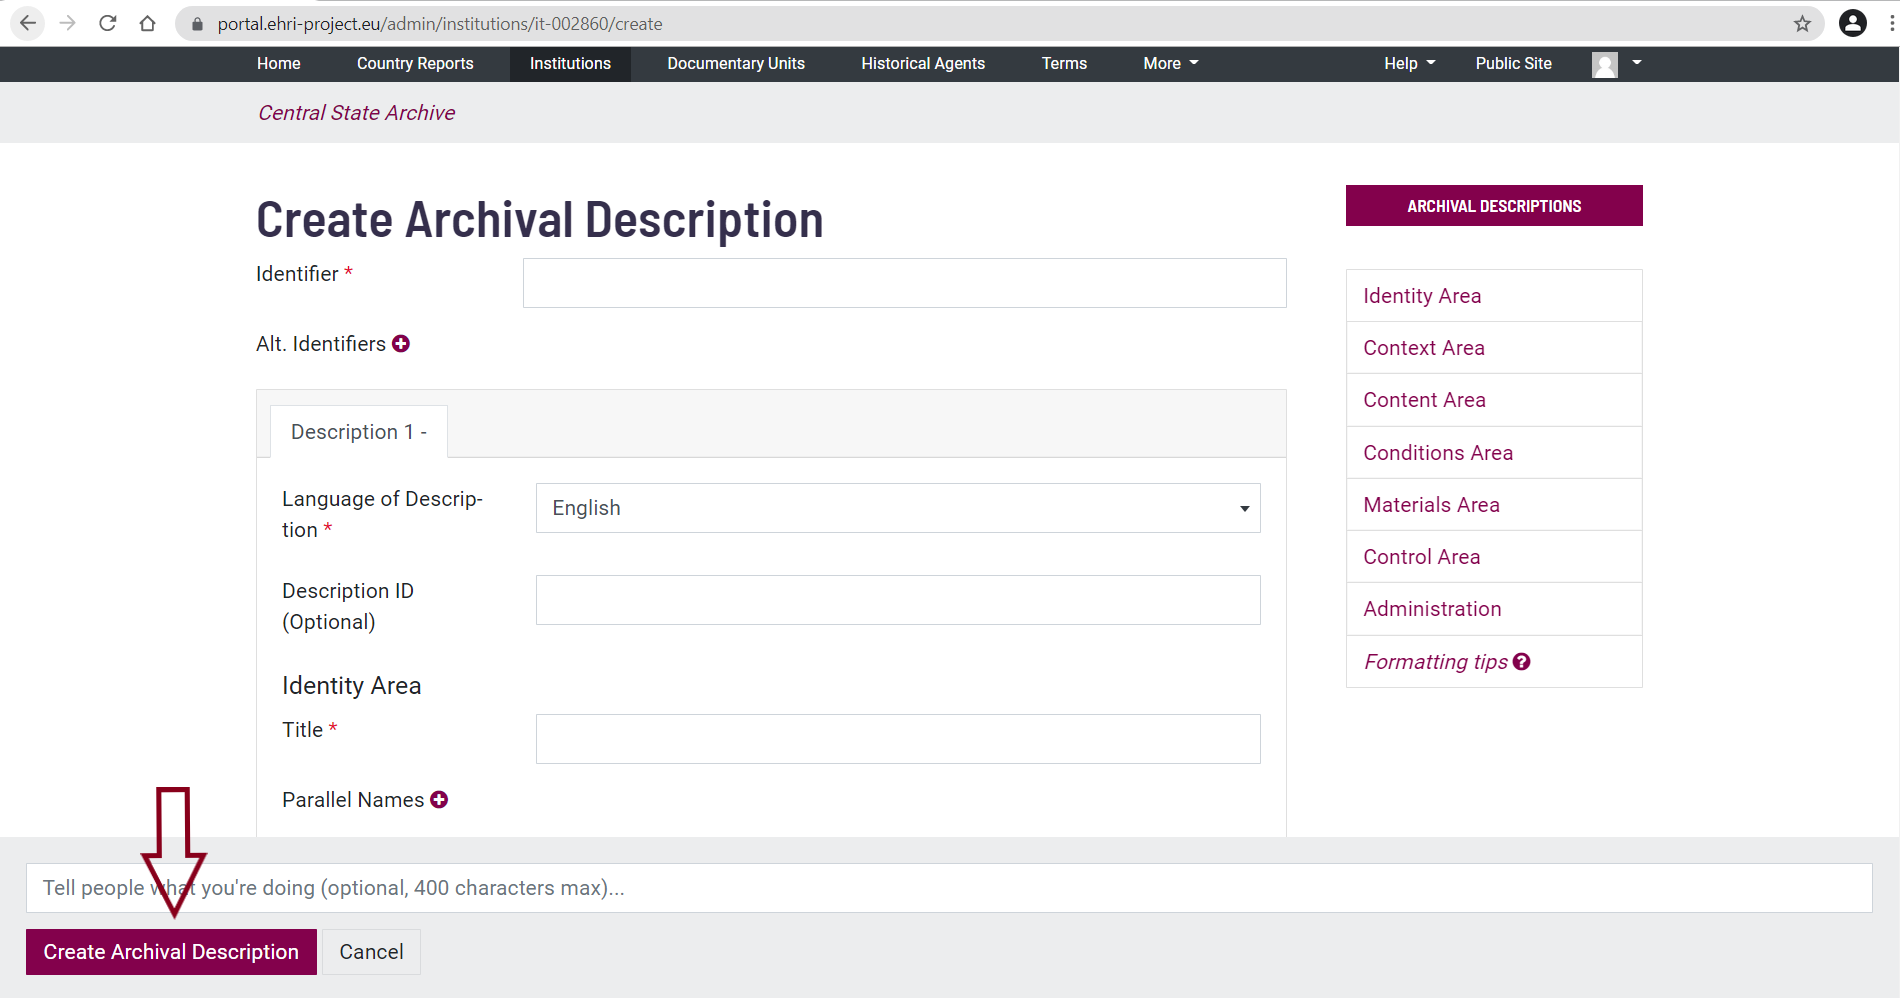
You can fill out each of the fields by simply clicking on them. Moreover, if you click on the respective text fields an explanation of the field function will be displayed. Throughout the page you will encounter ready-to-fill-in fields and plus-buttons. Once you have clicked on the plus button, new ready-to-fill-in fields will open.
You can create as many fields with the plus button as you need.
To save your description, click on ‘Create Archival Description’ at the bottom of the page.
NB: Since this guide was written the forms have been augmented to include hints showing which ones are mandatory or desirable (other fields are optional.) The hints look like this:

You can find more information about mandatory and desirable fields on the EHRI Portal data model page.
Please note that adding the creator to the archival description is also mandatory. This, however, can only be done after the archival description has been created: see below how to add a creator
Tips & tricks: If you receive an error message when trying to save your description, this may be caused by an open field created by having clicked on a plus-button. You will need to close the empty field indicated in red by clicking the X to the right of the respective field.
Child Items
The creation of child items allows you to create a hierarchical structure in your descriptions.
Child Items are held by a parent archival description, therefore you first have to go to the parent archival description page to create a child item description. For this example, we will work on Romania.
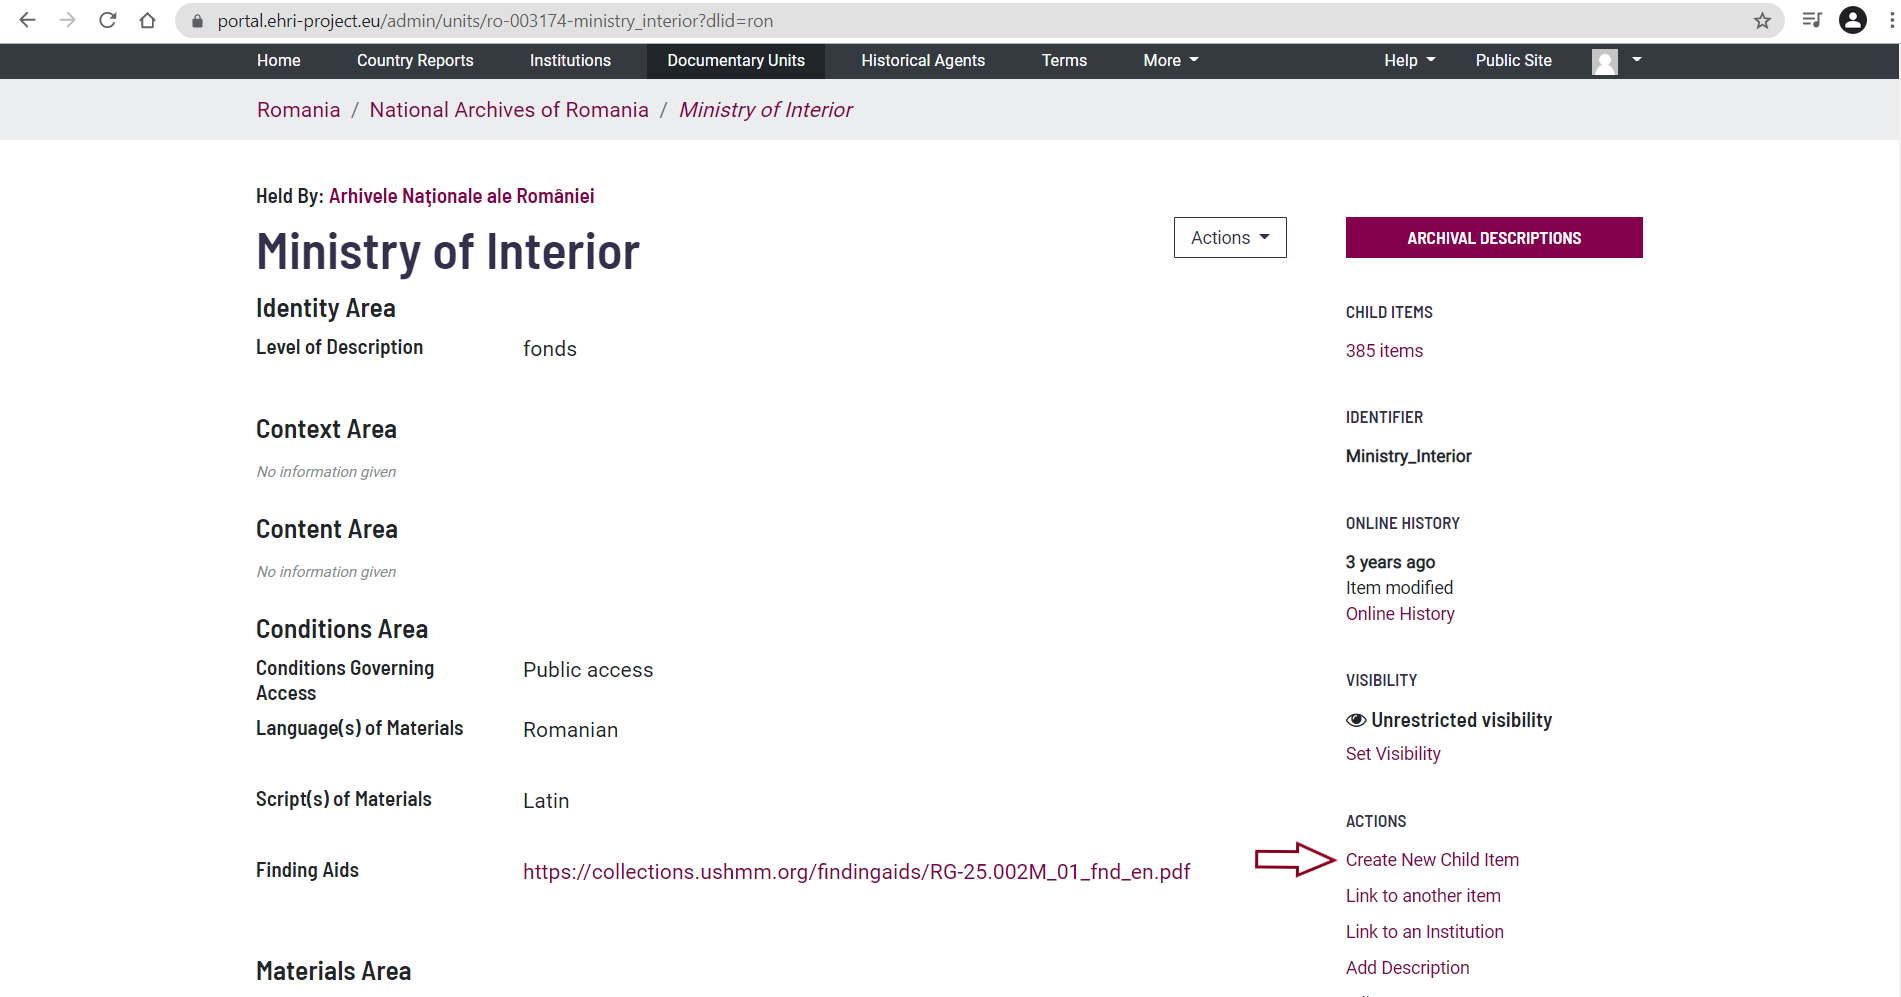
On the parent archival description page you have to click on ‘Create New Child Item’. You will be directed to an editing page, with the same structure as the parent archival description page.
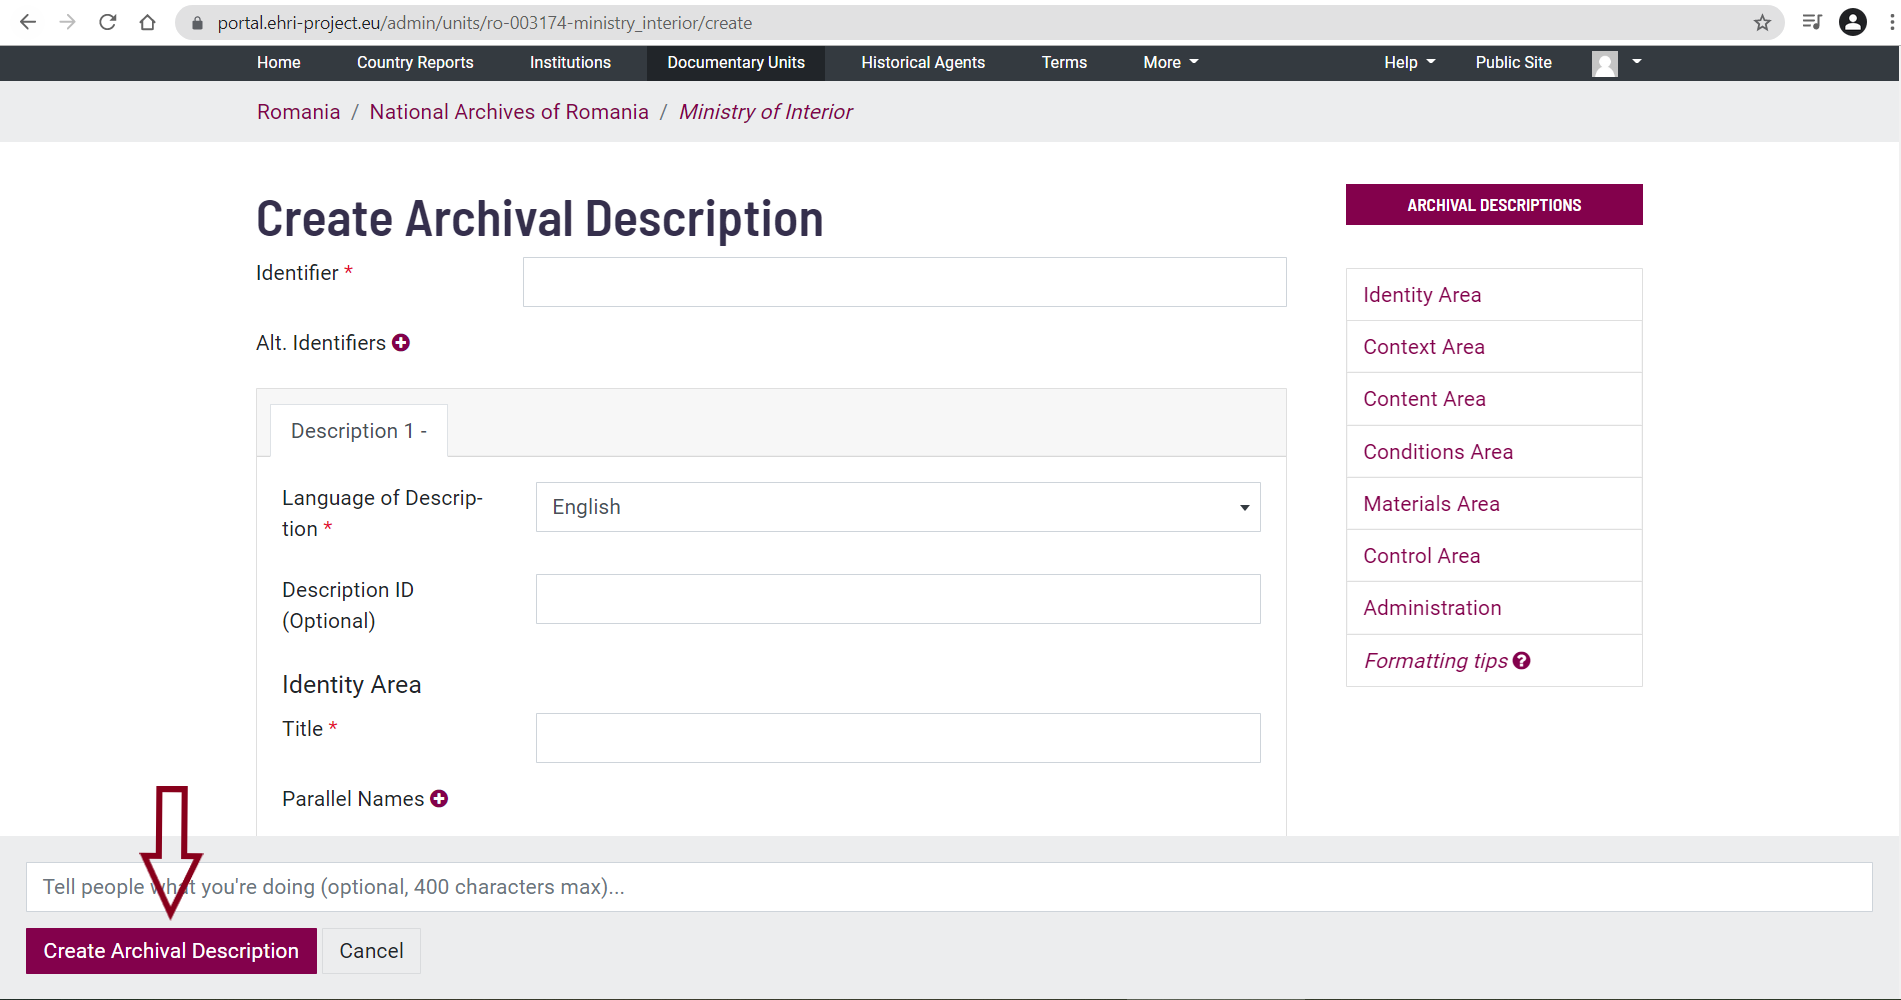
Now follow the steps described above under How to create Archival Descriptions.
How to Update Archival Descriptions
Once an archival description has been created, you can always update it by going to its entry
in the EHRI Portal and clicking on ‘Edit Item’.
Note: If you want to suggest the deletion of an item, please contact info@ehri-project.eu.
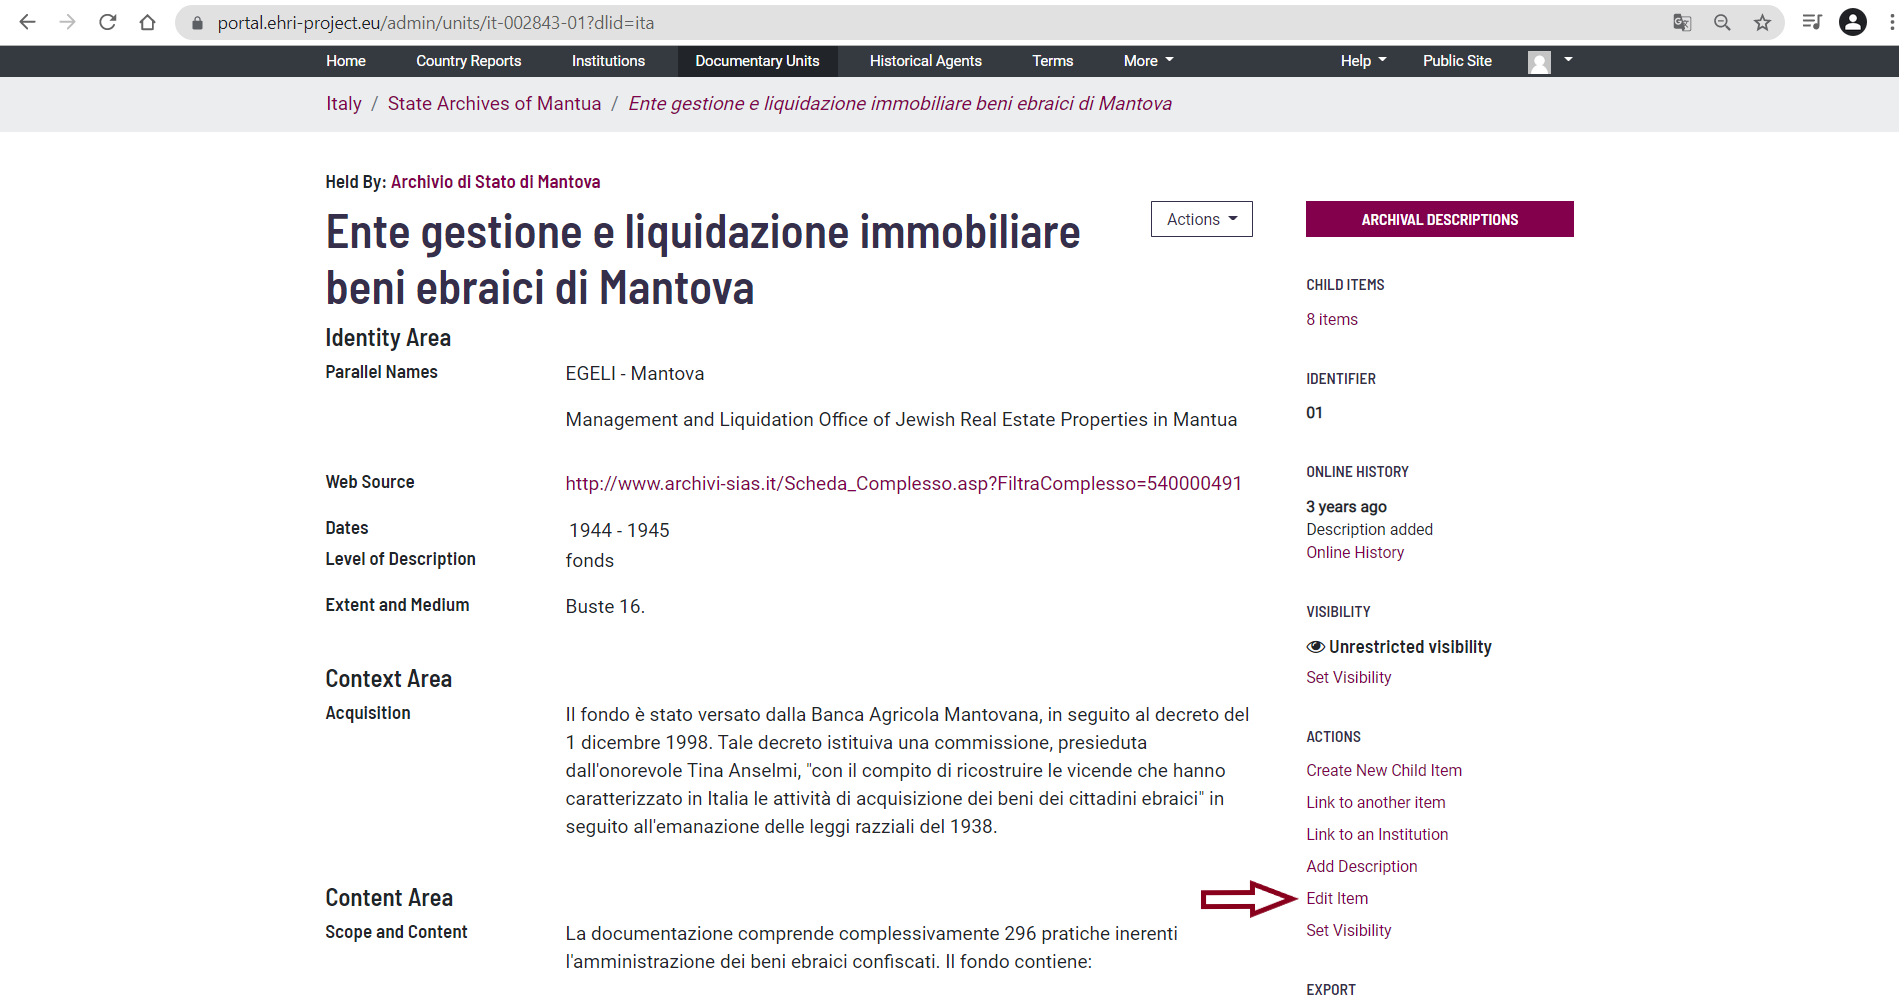
Once you have finished editing, you can save it by clicking on ‘Update Archival Description’ at the bottom of the page.

How to Add Creators to Archival Descriptions
It is mandatory to add a creator to every archival description. The creator is the individual, group, or organization that is responsible for the production, accumulation, or formation of the archival collection. Creators are saved under ‘Authority sets’.
The first thing to do is to verify whether you can already find the Creator under ‘Historical Agents’ (top of the page).
Existing creators
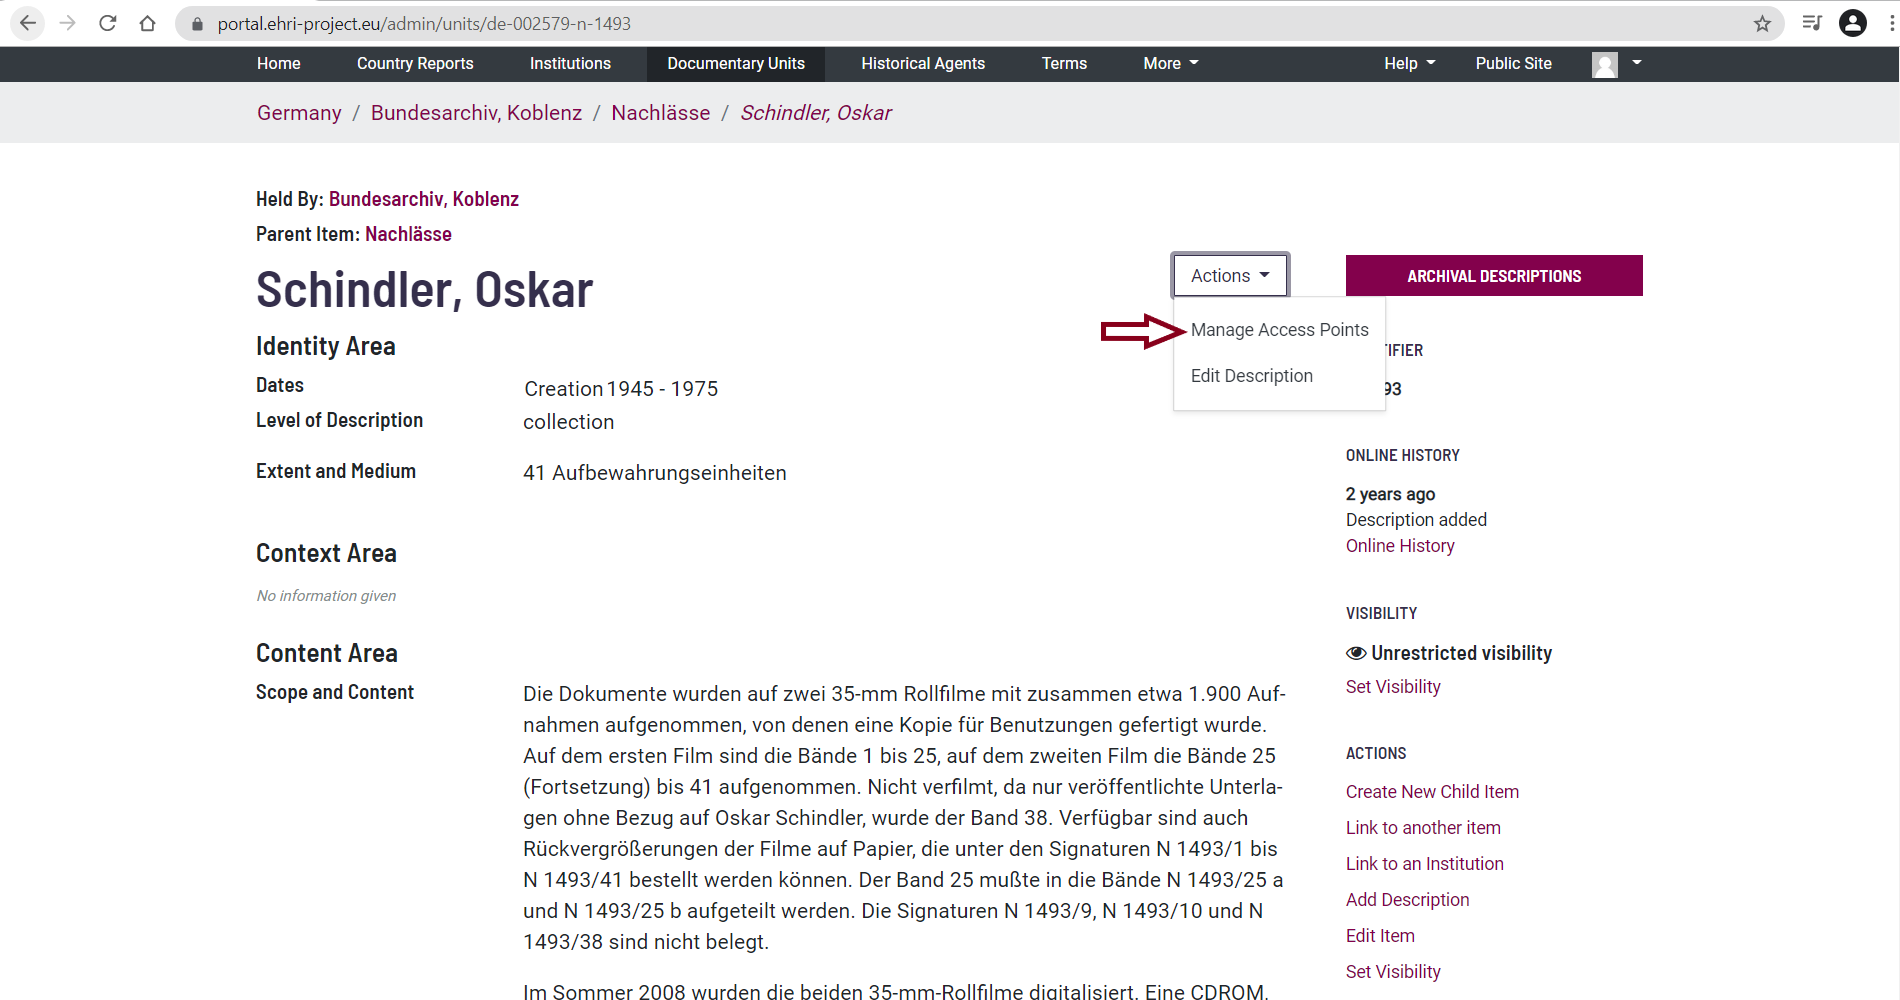
If you find the creator you are looking for, go to the archival description page, and click on Actions > Manage Access Points. The image below shows the child item ‘Schindler, Oskar’ of the parent item ‘Nachlässe’ held by the Bundesarchiv, Koblenz.
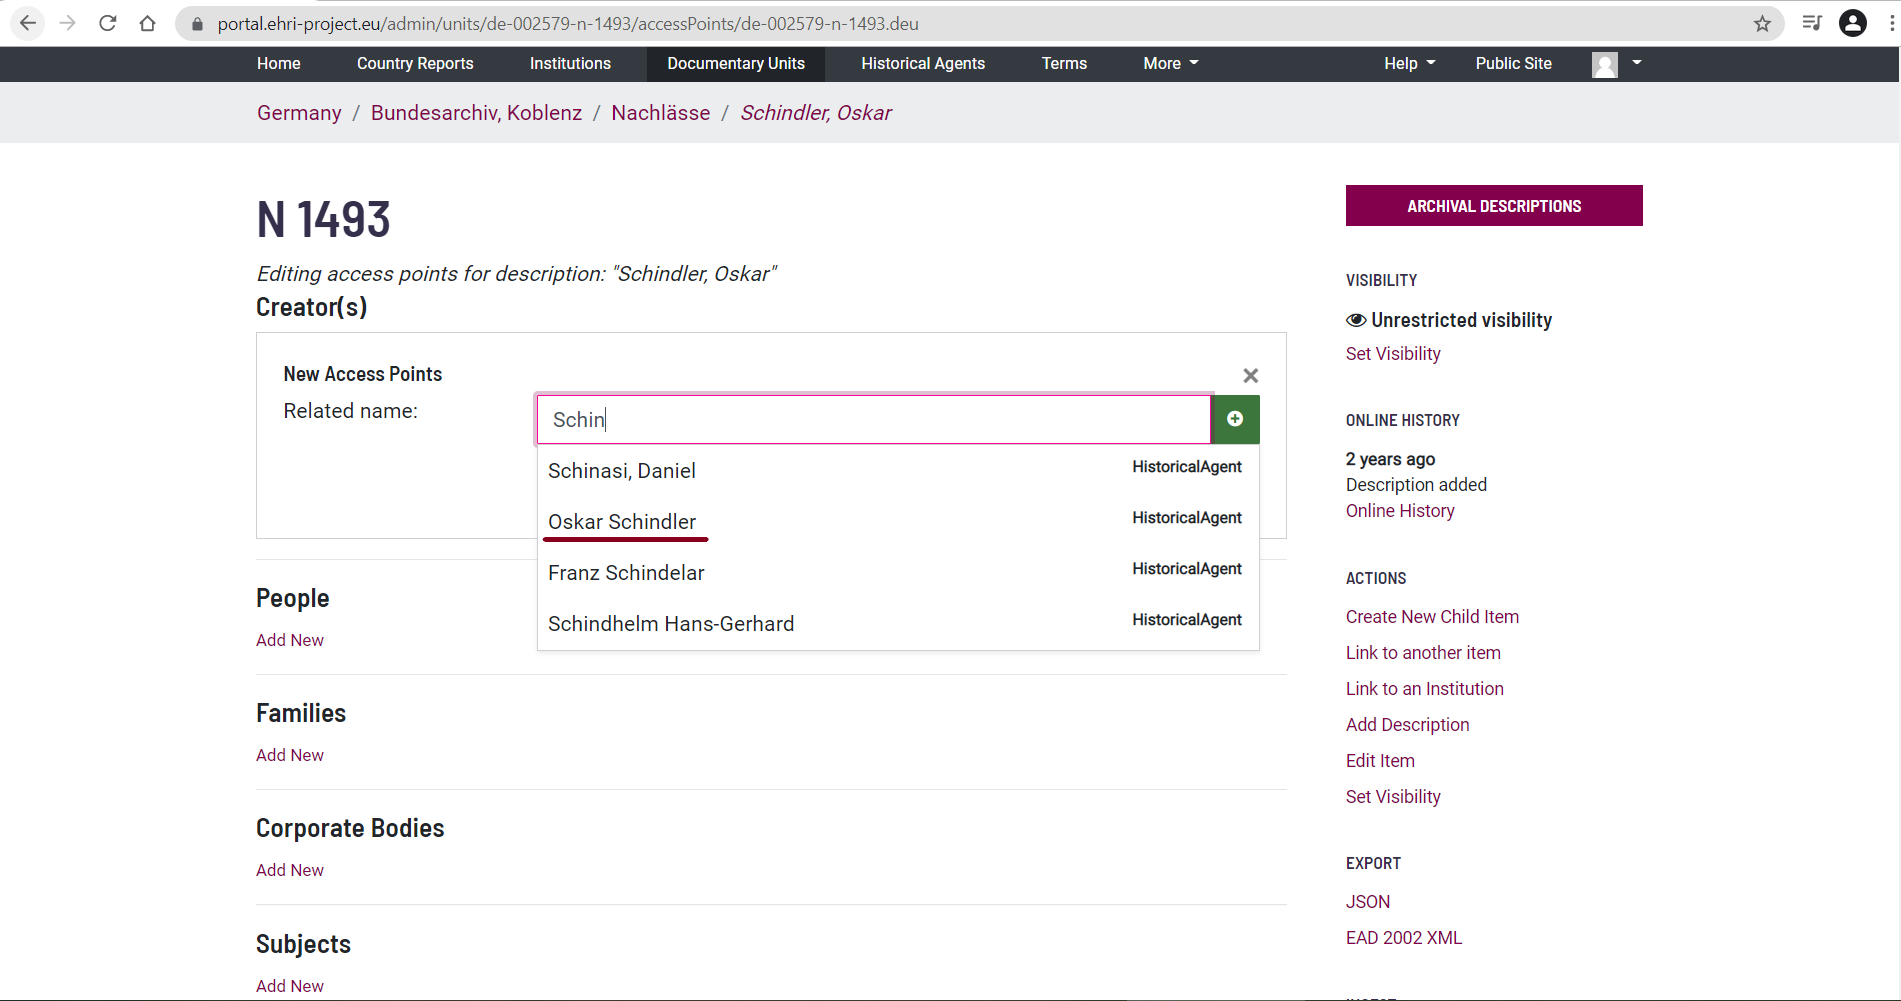
Click on ’Add New’ under ’Creator(s)’ and a search box will appear. Start typing the name you wish to add in the search box. Related terms will appear underneath the search box.
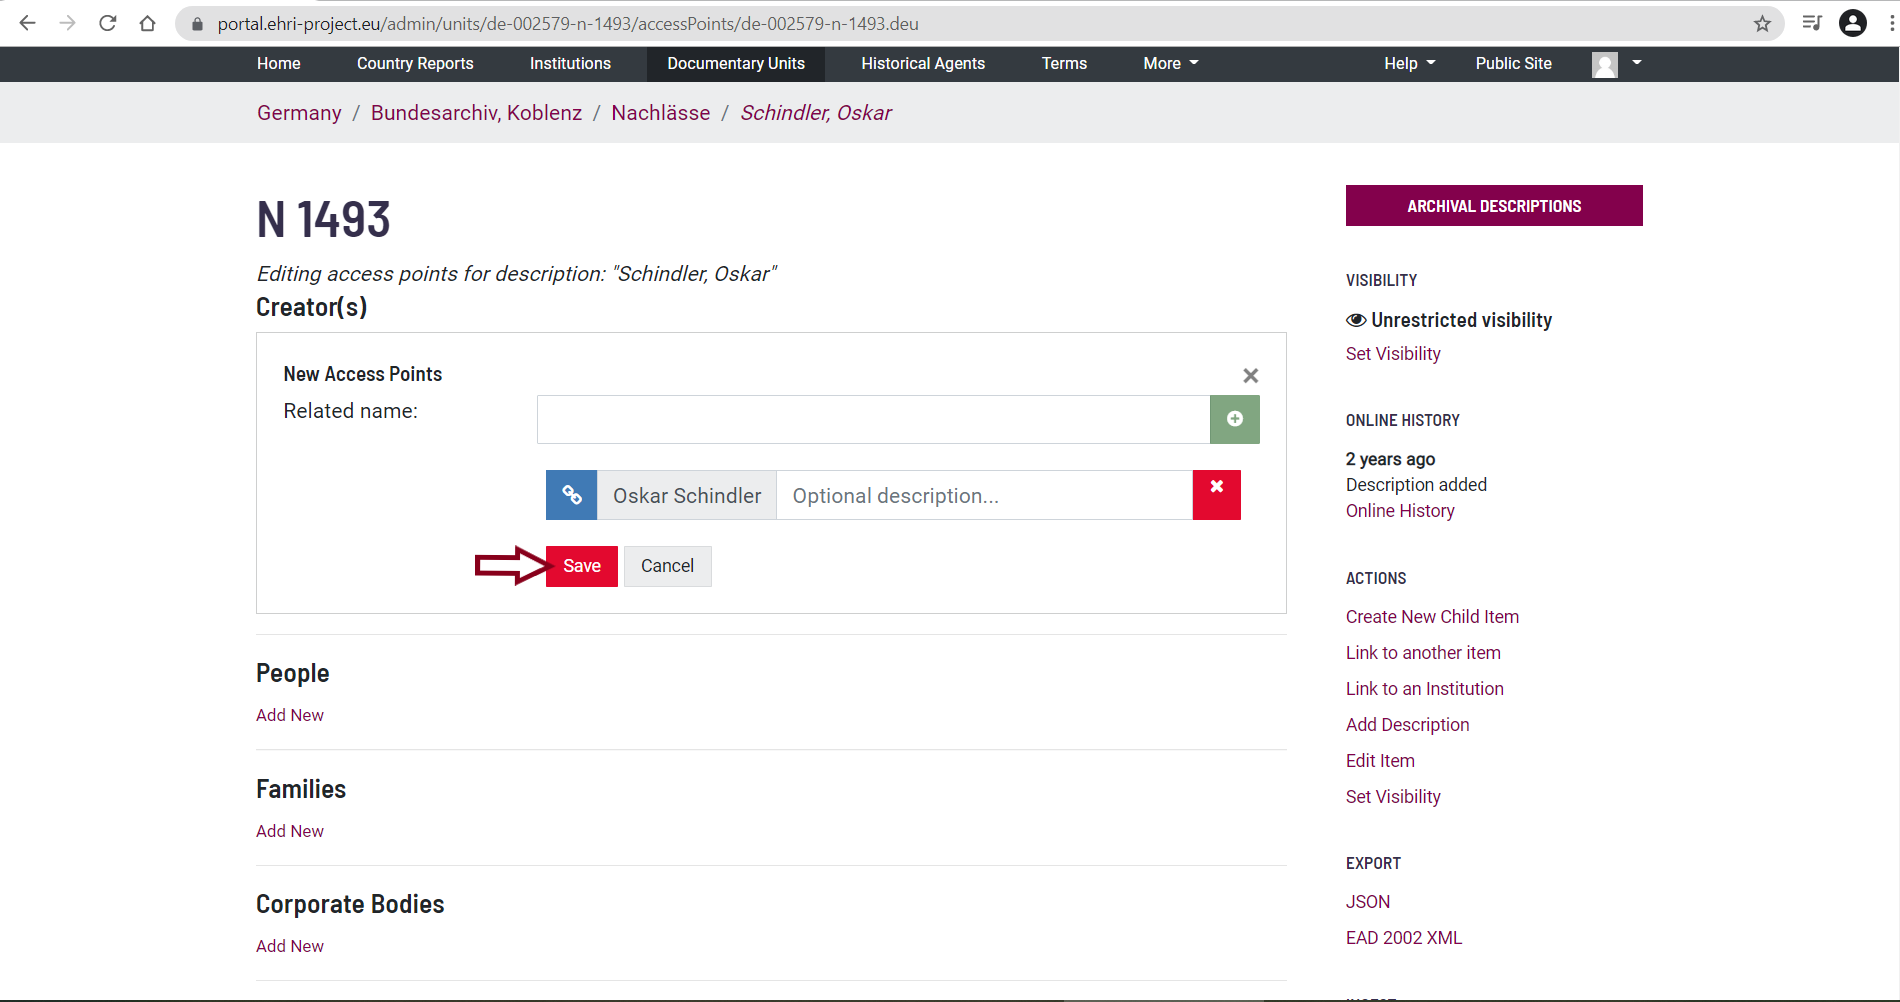
Select the appropriate name and click on it, then click on save.
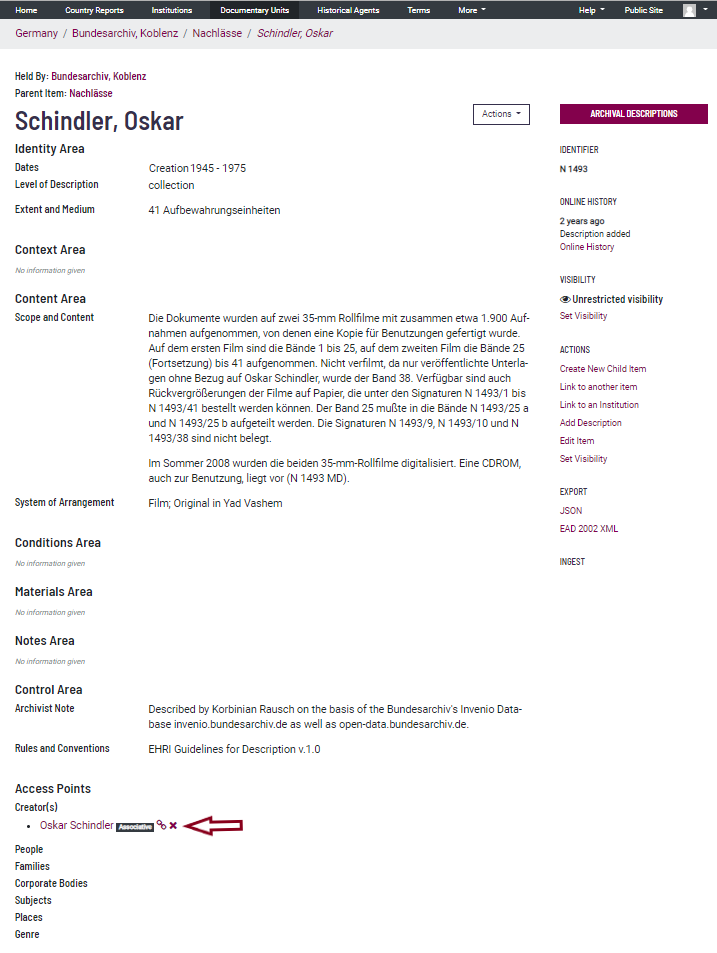
The relationship has been created.
New Creators
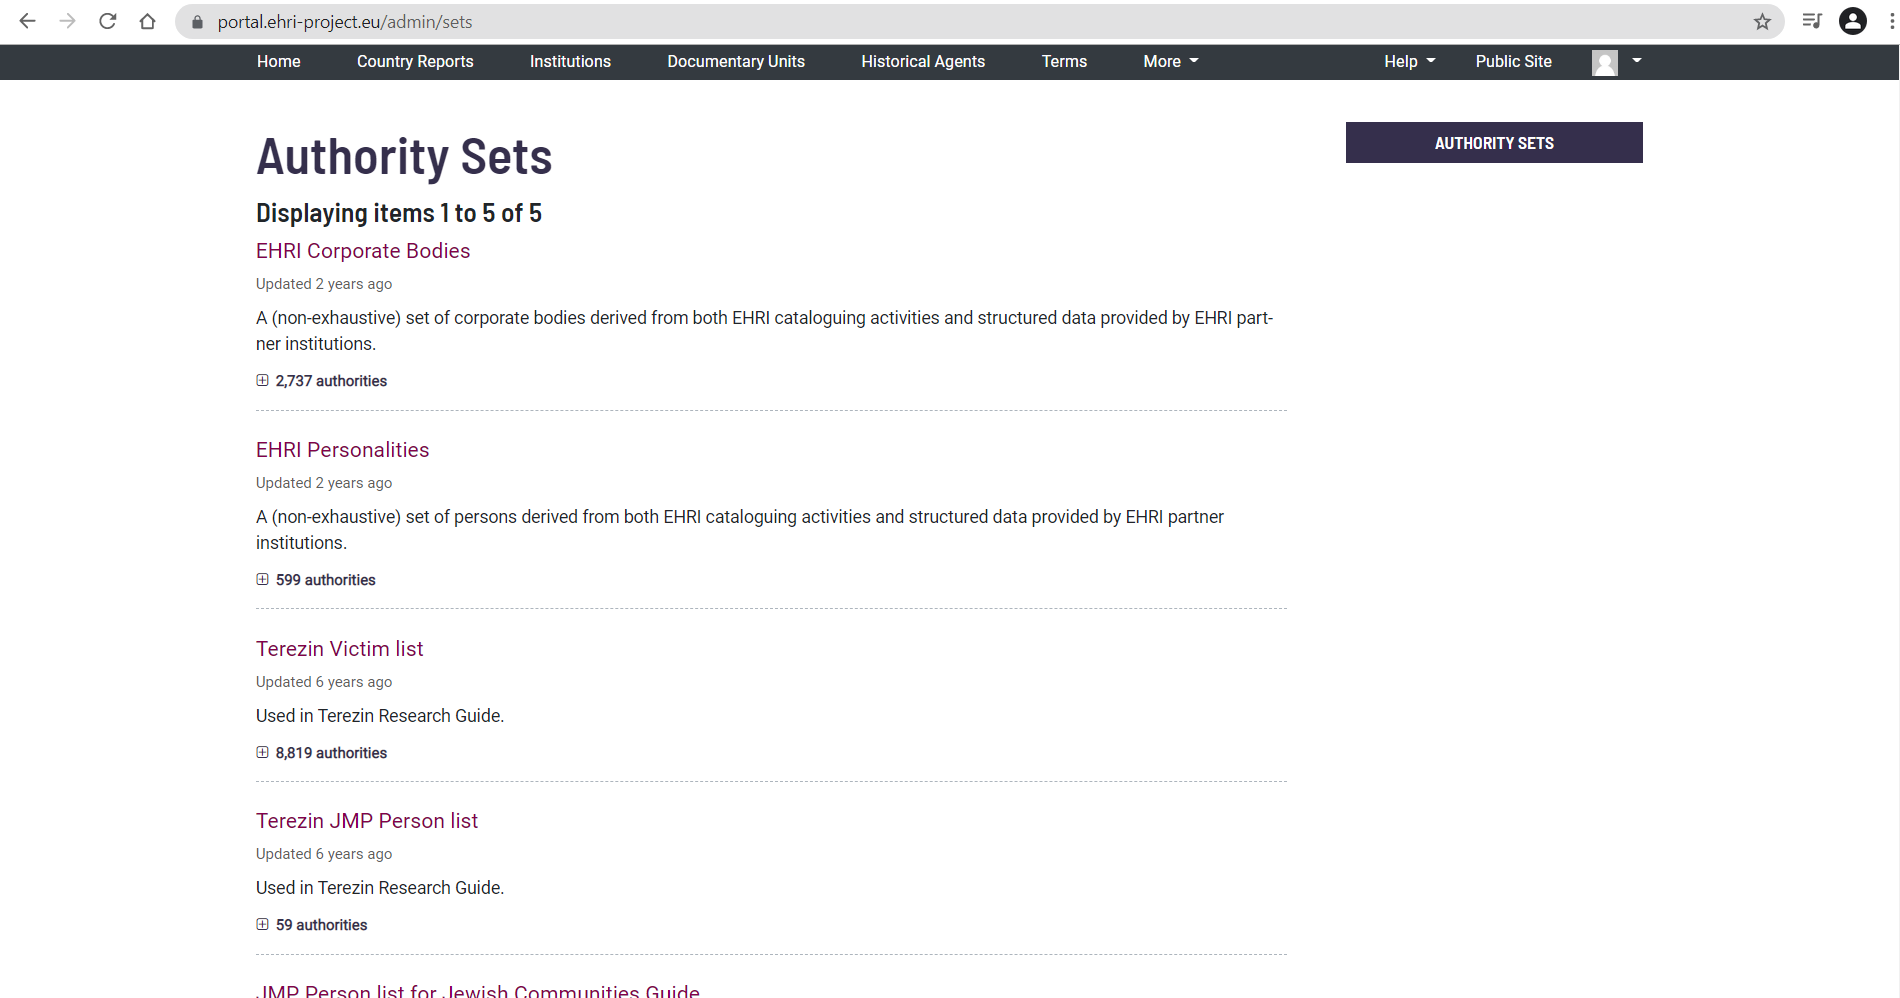
If you did not find the creator you were looking for under Historical Agents, you will need to create it. To do so, go to More > Authority sets:

If you click on the Authority sets button, you will be redirected to the following page:
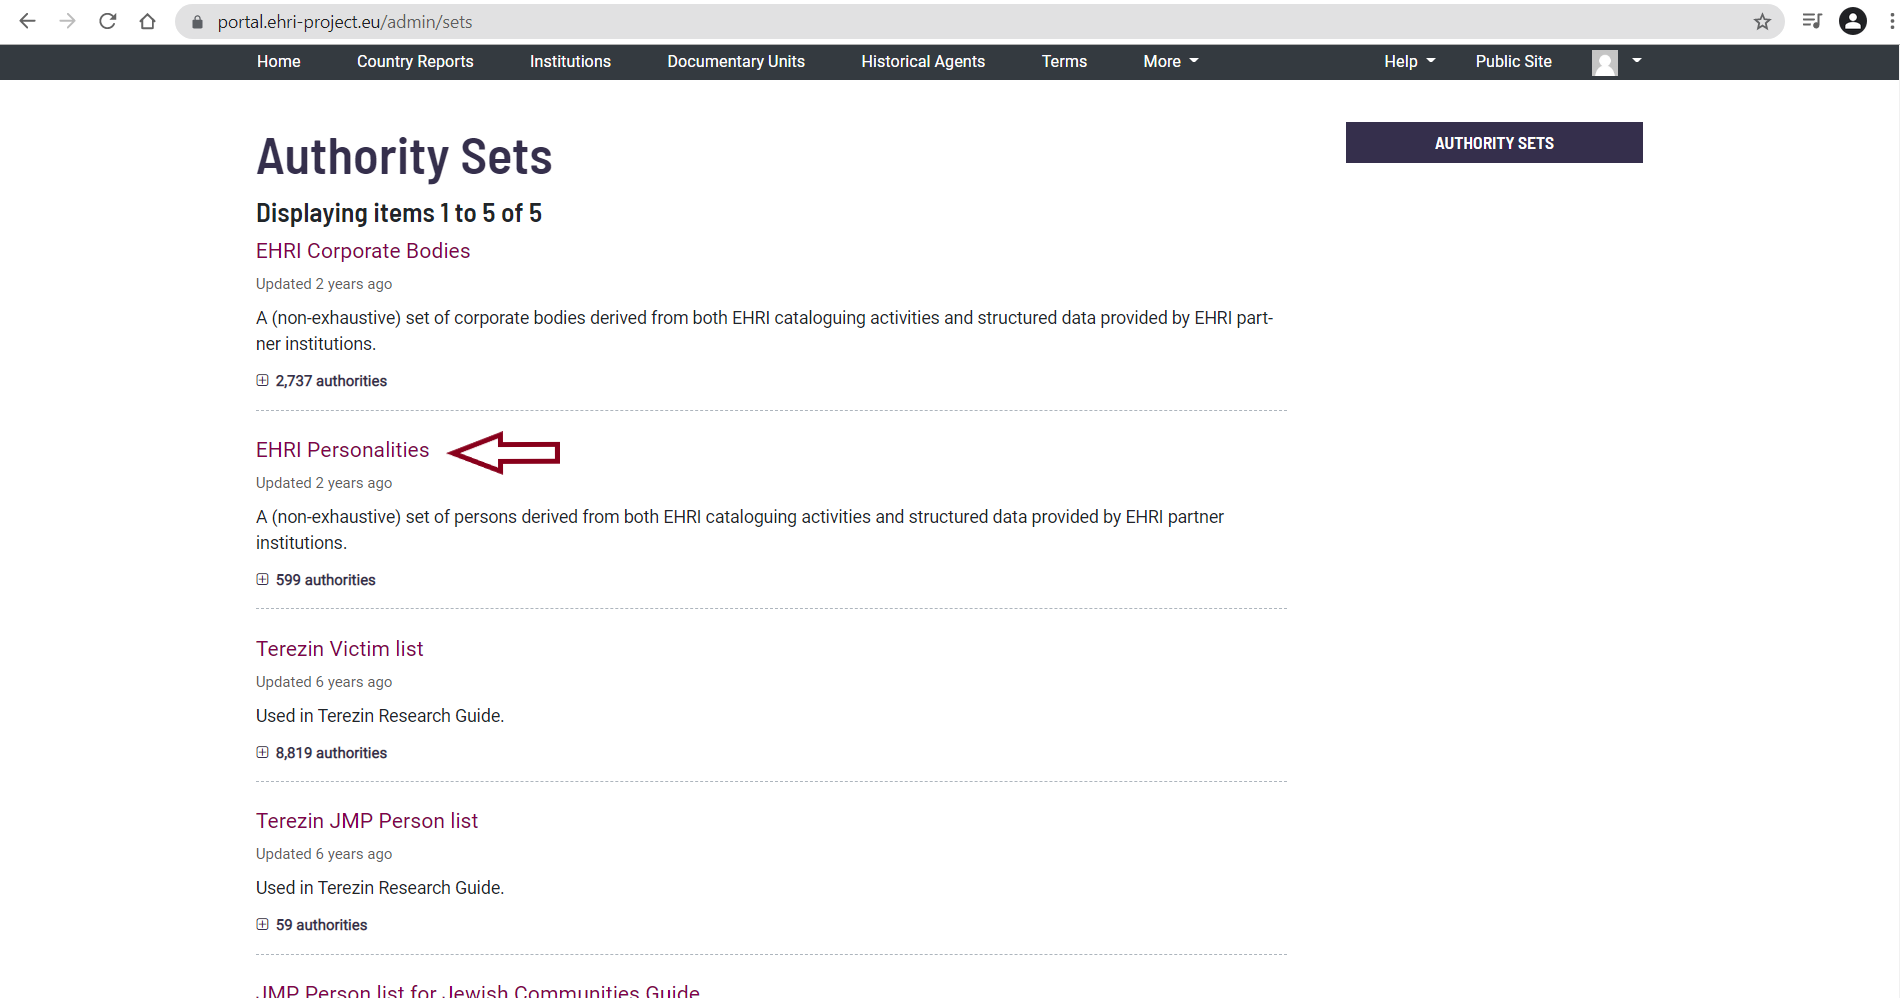
For creators you create yourself, there are two options:
If the creator is an institution or an organization, click on EHRI Corporate Bodies.

If the creator is a person or family, click on EHRI Personalities.
You will be redirected to the respective page. Click on the Create Authority button.
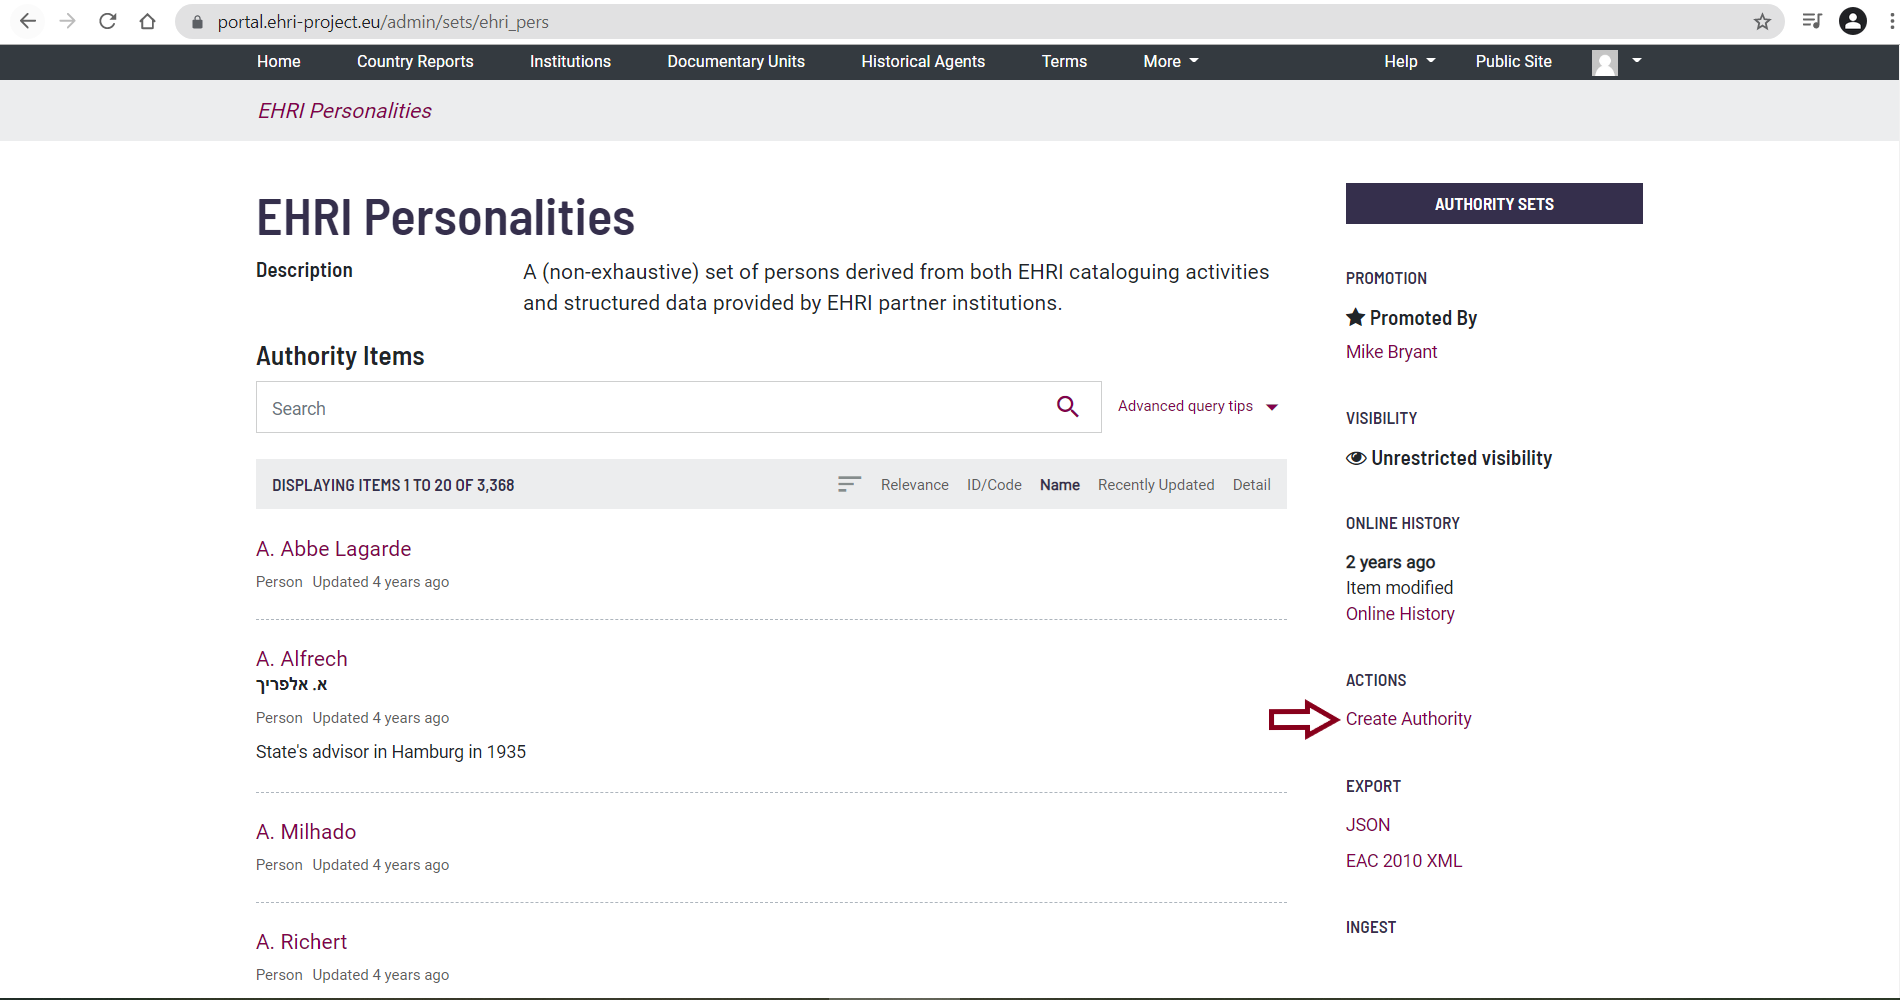
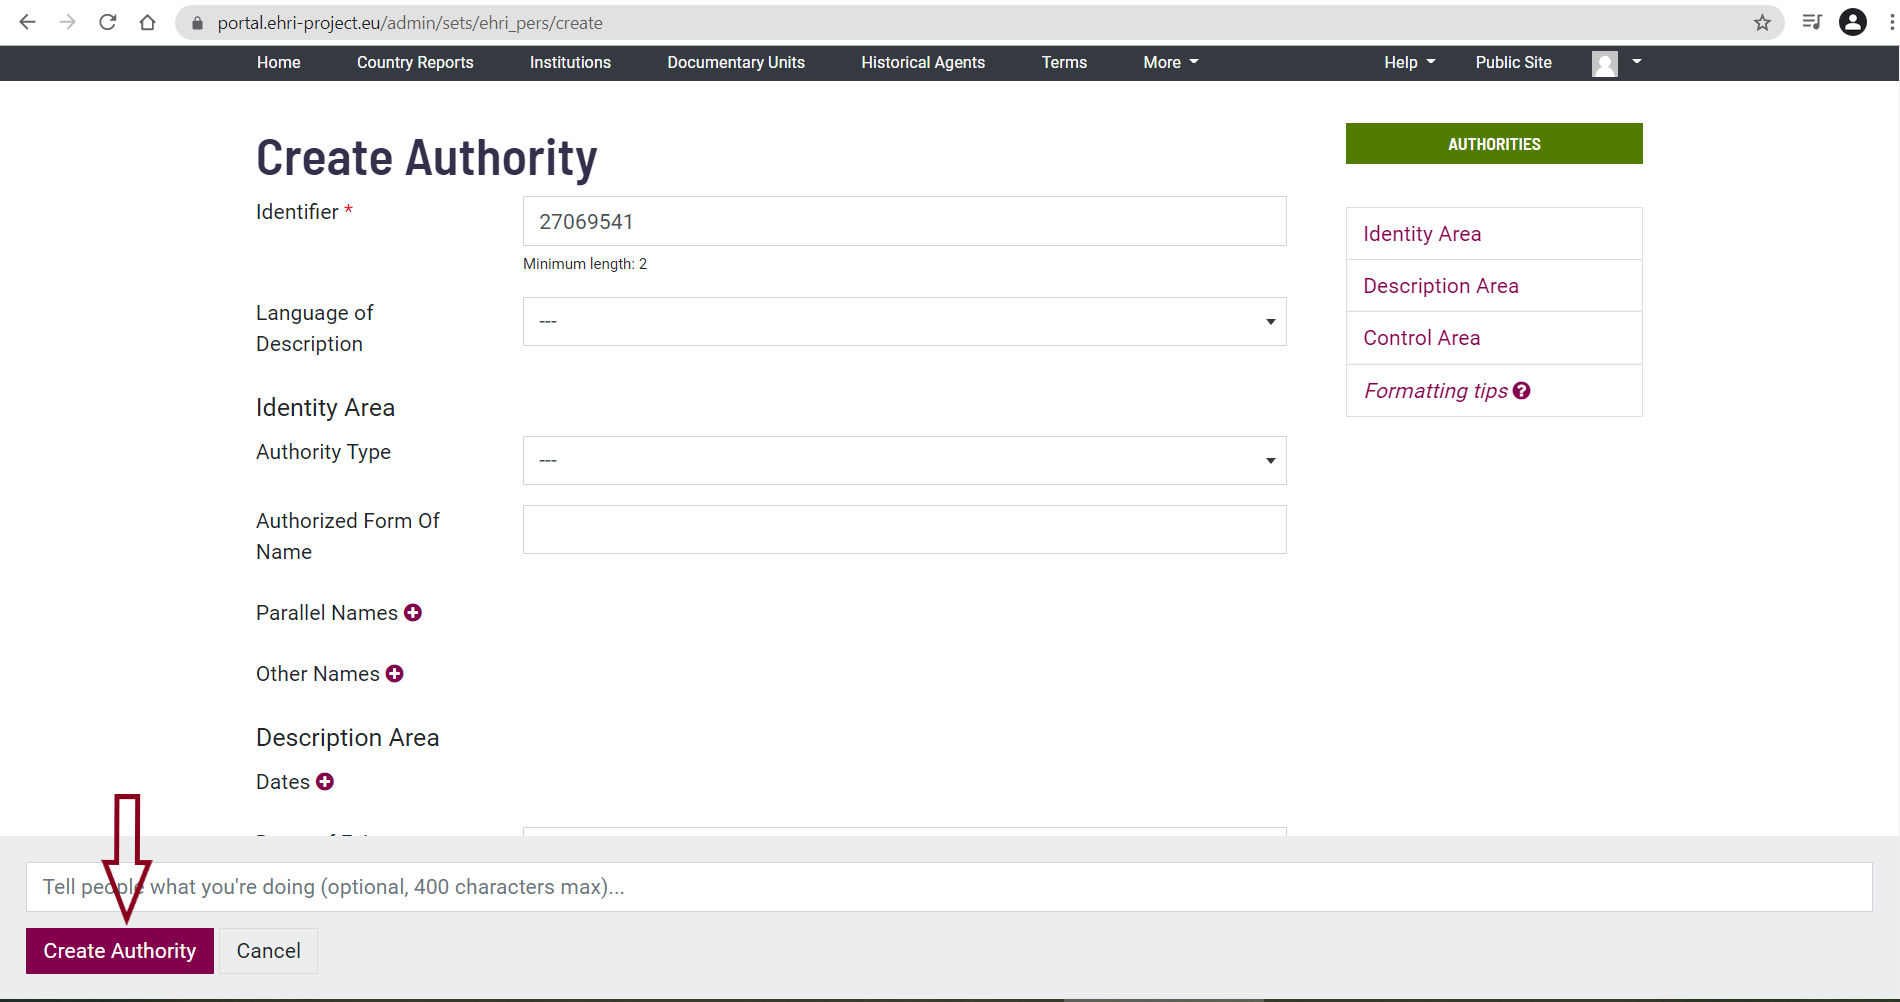
You will be redirected to an editing page.
Mandatory and desirable fields are marked with hint labels. More information is available on the EHRI Portal data model page.
To create the relationship between the Archival Description and its Creator you follow the same steps as in the first scenario.
How to link to other/further keywords (names, subject, places and genre)
You have the possibility to add further keywords to your archival description. Keywords can include names (people, families and corporate bodies), subjects, places and genre.
In our example, the archive being described is located in Italy.
Go to the archival description to which you wish to add keywords. Go to Actions > Manage Access Points.

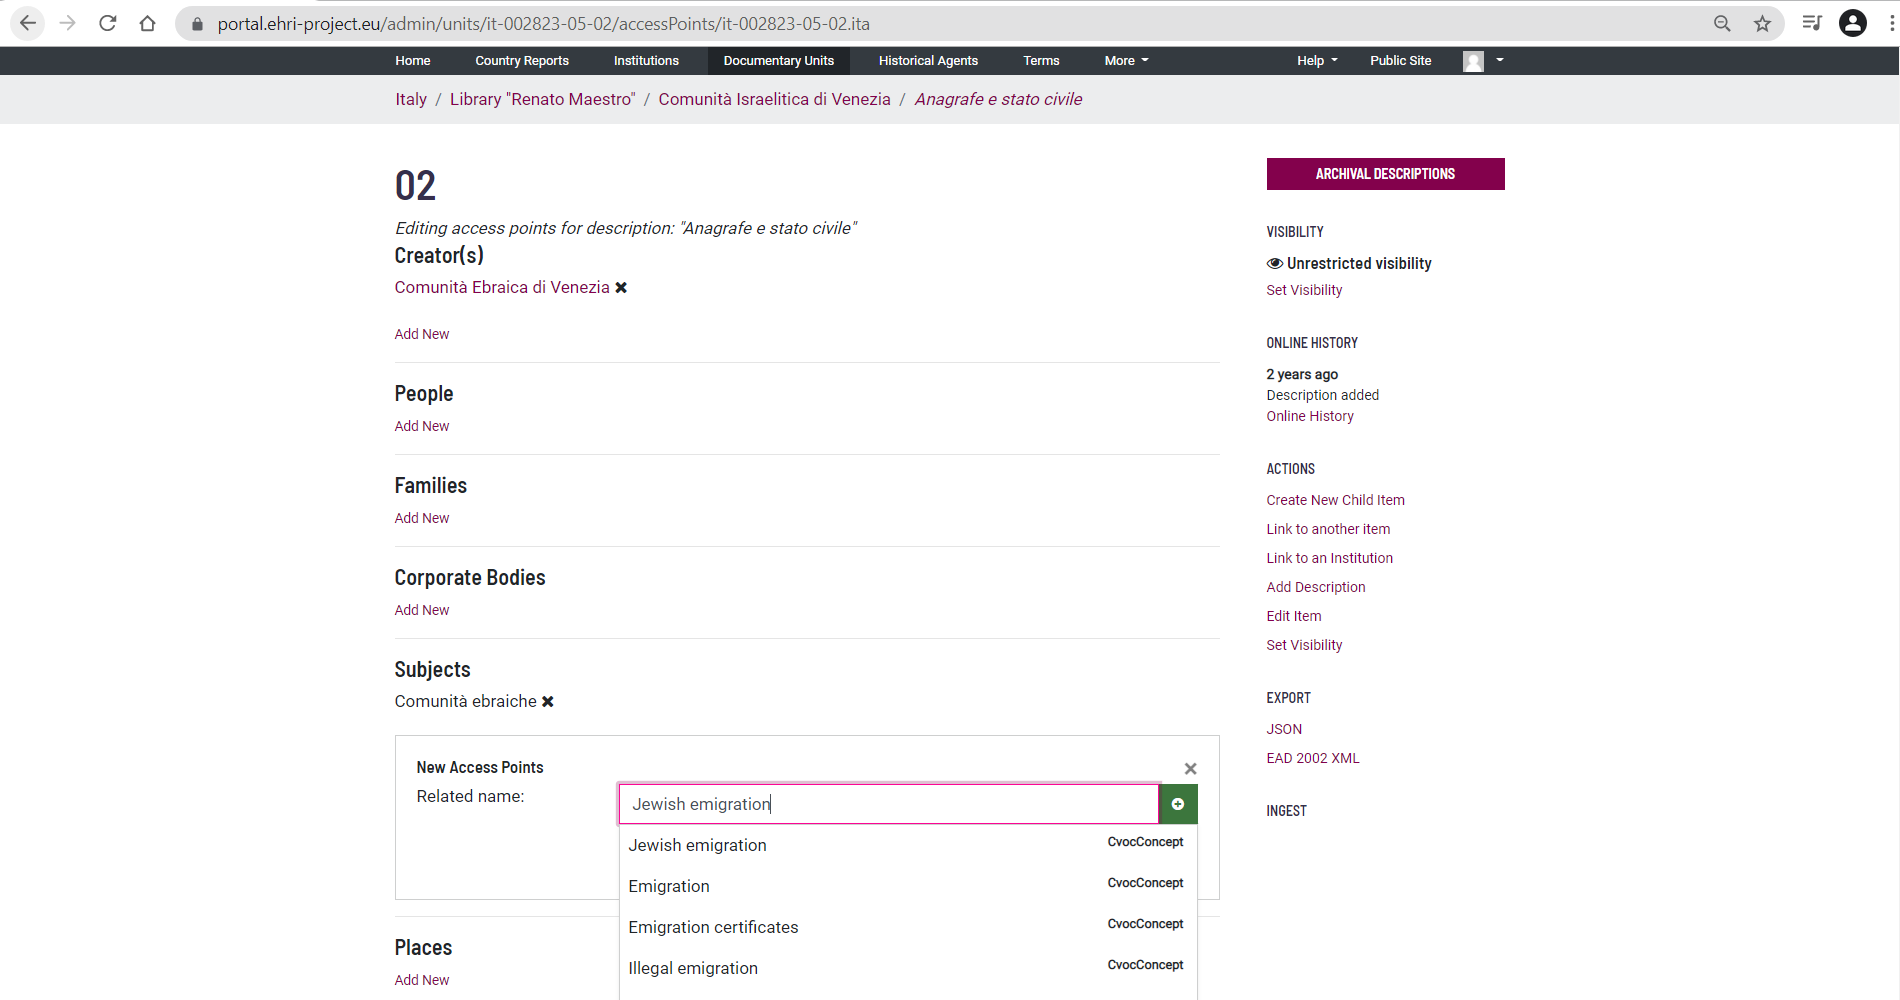
Click on Manage Access Points, and you will be redirected to the following page. We will continue our example by adding a ‘Subject’. Start typing the Subject you wish to add in the empty text-box: available values will appear automatically.
There are two options:
Existing keywords
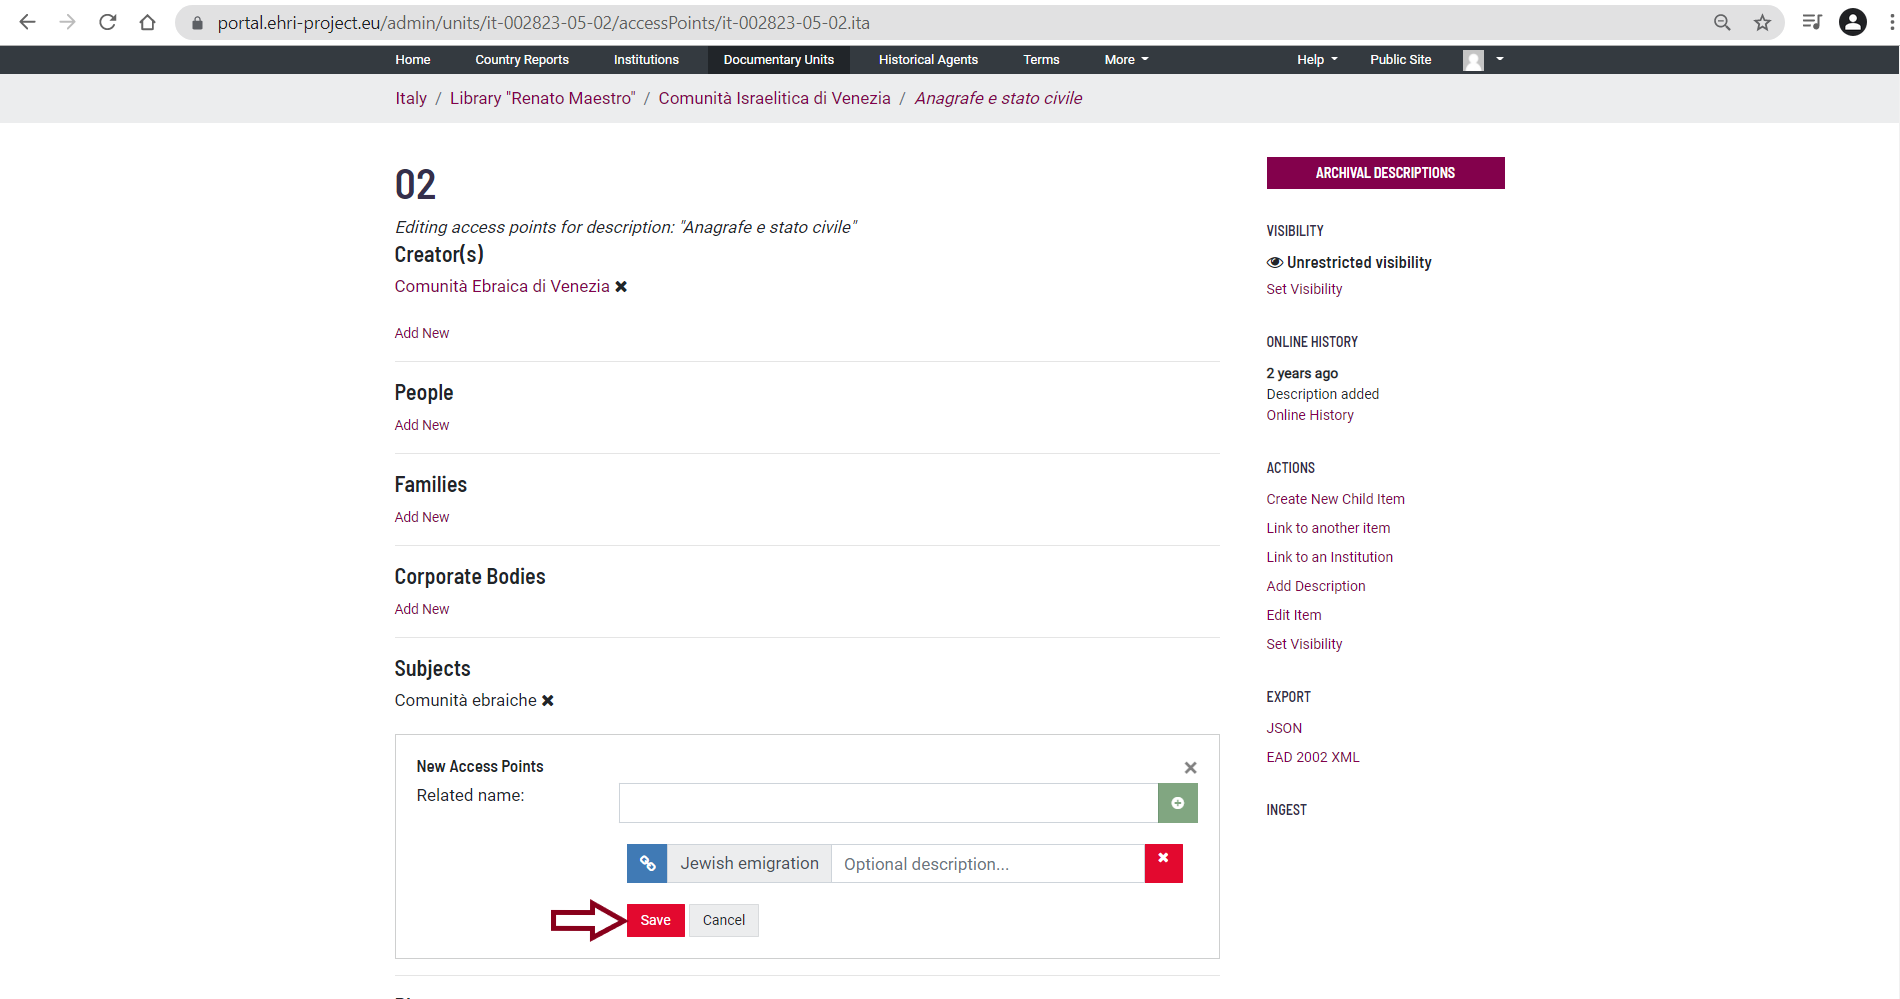
If you find the desired value, in our example ‘Jewish emigration’...
Select it, and click on the Save button.
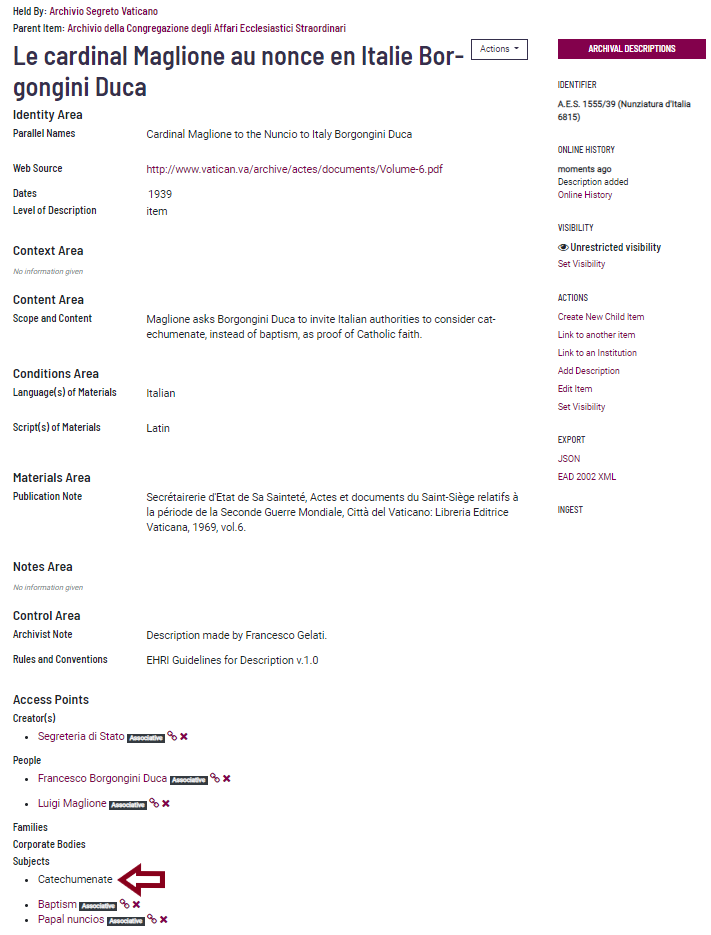
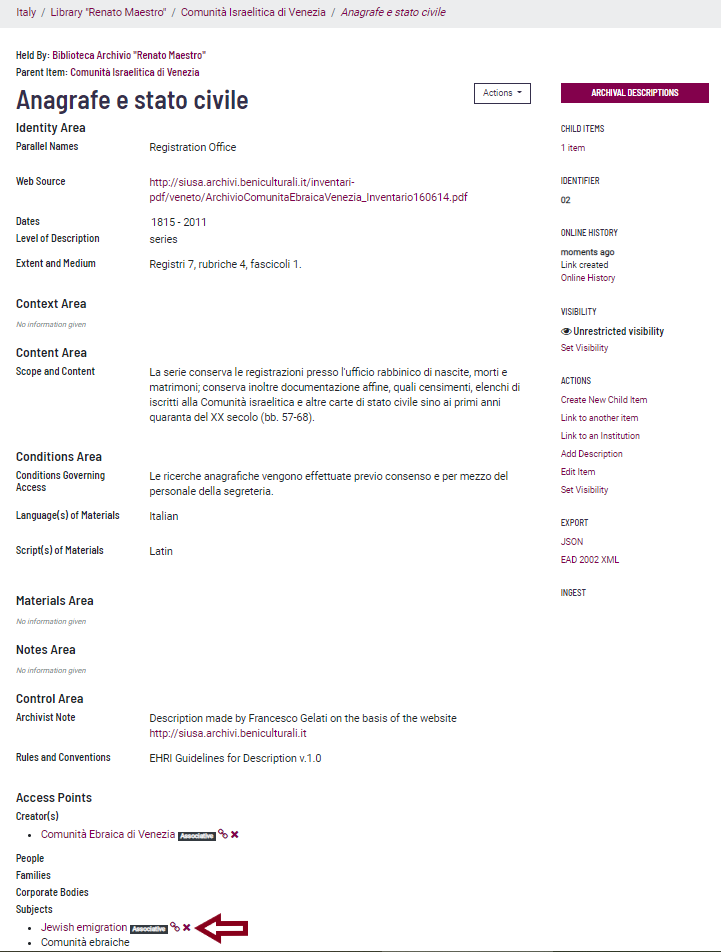
Your relationship has been created and is visible at the bottom of the Archival description page.
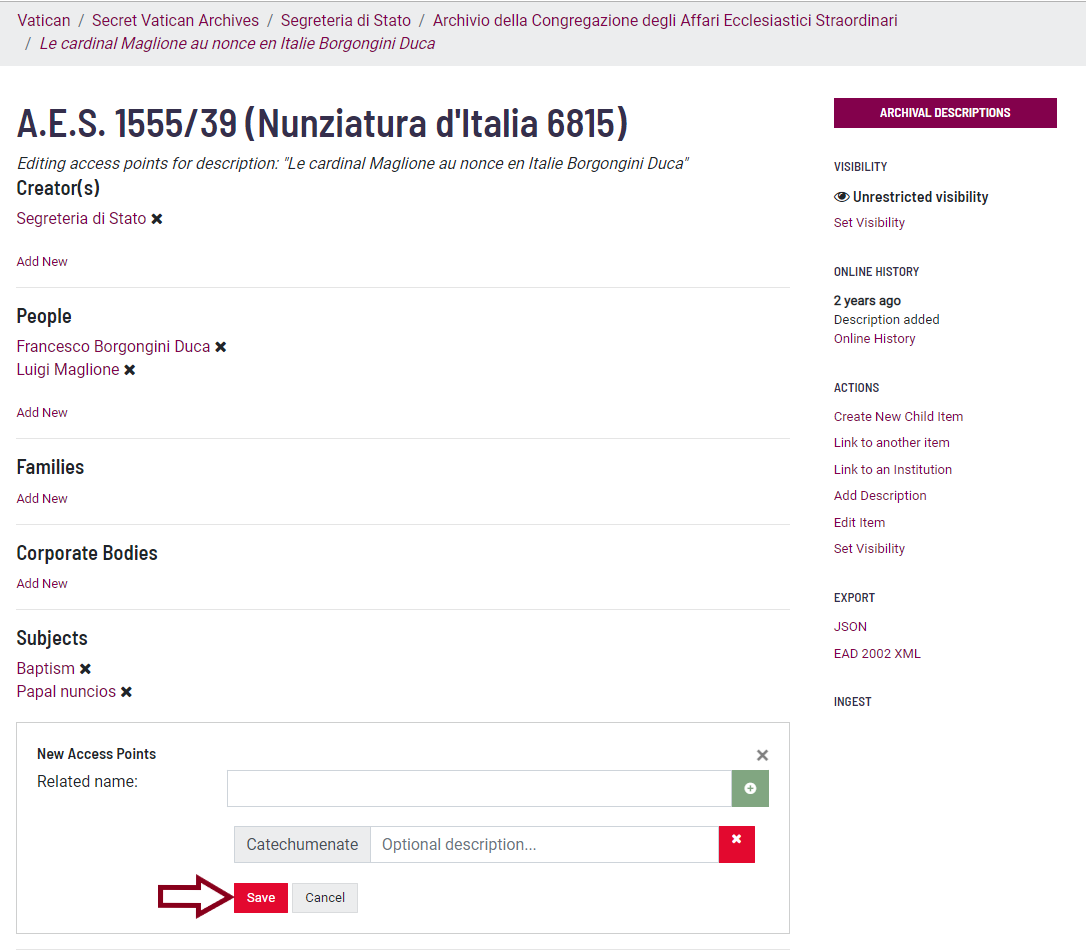
New keywords
If you did not find the Subject you were looking for in the pop-up list, enter it as plain text and
click on the green ‘plus’ button.
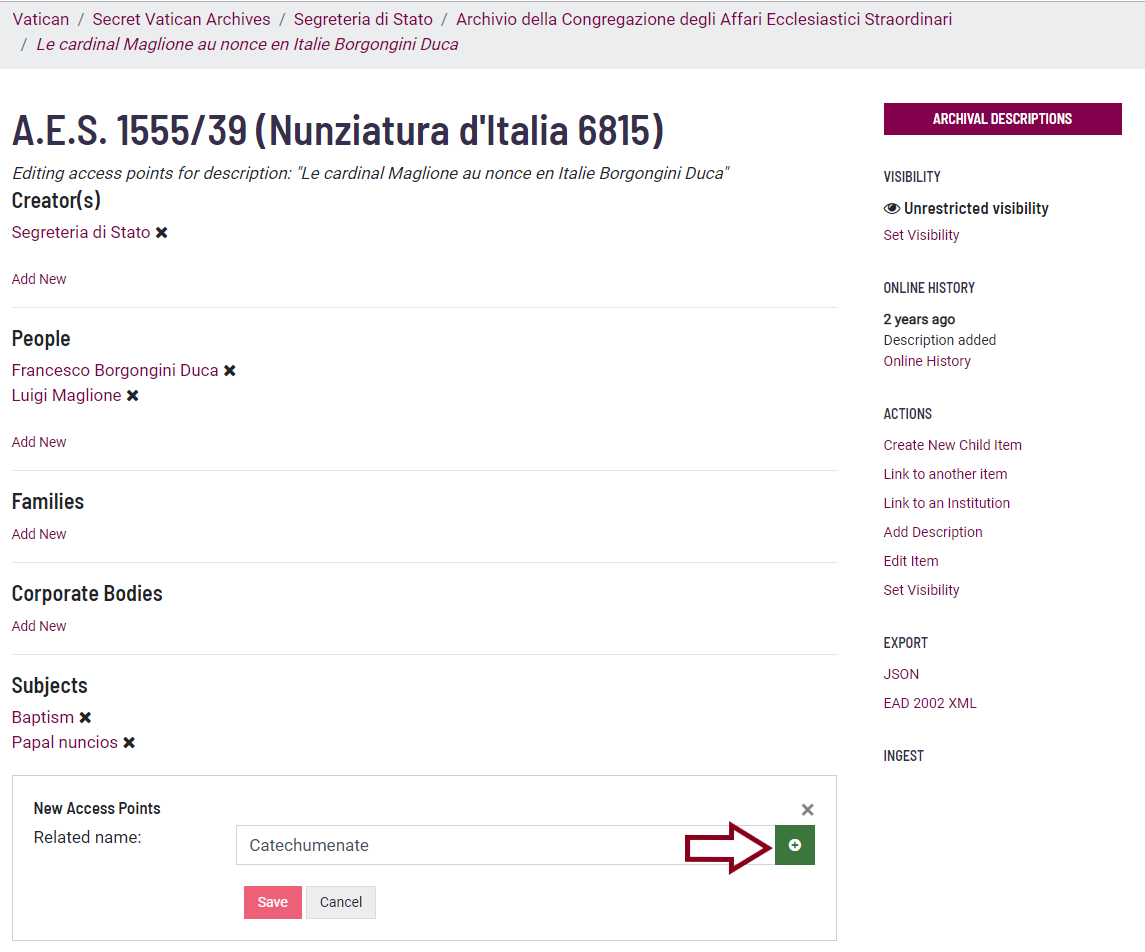
Then click on the Save button.
Your relationship has been created and is visible at the bottom of the Archival description page.