Walkthrough
Introduction
Static site generators are a type of software that takes a set of files and converts them into a website. The files are written in a markup language such as Markdown or HTML, and the generator converts them into HTML, CSS and JavaScript. This means that the site can be hosted on any web server, and does not require any special software to be installed on the server. The site can be edited using any text editor, and the changes can be previewed locally before being deployed to the server. Hugo sites make use of "themes" which are collections of files that define the look and feel of the site. EHRI has developed a theme for National Node sites, which can be found separately at https://github.com/EHRI/ehri-nn-hugo-theme.

An example of a National Node site using the template
In this documentation we will assume that the NN site will be deployed on Github Pages, which is a convenient way to host static content for free. However, the site can be hosted on any web server that supports static content.
Step 1: Checkout or fork the template site
The template site is available on Github at https://github.com/EHRI/ehri-nn-hugo-template/
The deployed site is available at https://ehri.github.io/ehri-nn-hugo-template/
To get started, you should clone the template site to your local machine. You can do this by running the following command in a terminal:
git clone --recursive https://github.com/EHRI/ehri-nn-hugo-template.git my-nn-site
This will create a new directory called my-nn-site containing the template site. Change into this directory.
NB: Alternately you can fork the template site on Github and clone your fork to your local machine.
NB2: The --recursive flag is used above in the git clone command to ensure that the theme submodule
is also cloned. If you forget to use this flag, you can run git submodule update --init --recursive to
clone the theme in the themes directory.
Step 2: Install Hugo (Extended Version)
In order to build the site, you will need to install Hugo. The easiest way to do this is to download the latest release from https://gohugo.io/installation/ and follow the instructions for your operating system.
Note
The current minimum version for this template is 0.111.3. There are also two versions to choose
from: standard and extended. Make sure you get the extended version, which is required for SCSS support.
Note
Windows users: see the Windows install guide for more information.
Step 3: Run the site locally
Once Hugo is installed, you can run the site locally by running the following command in the my-nn-site directory:
hugo server
This will start a local web server on port 1313. You can view the site by opening http://localhost:1313 in your browser.
Step 4: Edit the site
The site is configured using a file called config.yaml. This file contains a number of settings that control the
appearance and behaviour of the site. You can edit this file using any text editor. Some of the settings are described
below.
- baseURL
This is the URL of the site. If you are hosting the site on Github Pages, this will be overridden to e.g.
https://ehri.github.io/ehri-nn-hugo-template/. If you are hosting the site on your own server, this should be set to the URL of the server, e.g.https://ehri-uk.org/.- languageCode
Set this to the site's default language, including the country code, e.g. en-GB
- title
Set this to the country of your national node, e.g. "United Kingdom"
- theme
Keep this as
ehri-nnunless you are developing a new theme- defaultContentLanguage
Set this to the default language of the site, e.g.
en- params
This section contains a number of settings that control the appearance of the site and are specific to the theme or used in pages. For example, if you want to disable the contact form, set
contactFormtofalse.- menu
This section defines the various menus used in the theme (for example, in the top navigation bar and footer) and the pages that are included in each menu. You can find more information about menu items in the template repository's README file.
- languages
This section defines the languages that are available on the site. Each language has a title, a weight (which controls the order in which the languages are displayed in the language switcher), and can also override default settings such as the menu items.
Customise the site appearance
Assuming you don't want to drastically diverge from the supplied EHRI theme, you can make small changes to site CSS
and add custom Javascript by adding <style> or <script> tags to the layouts/partials/head-additions.html
file. If you want to make more substantial changes to the theme, you should fork the theme repository at
https://github.com/EHRI/ehri-nn-hugo-theme, make your changes, add the forked repository as a new Git submodule,
and update the theme setting in config.yaml to point to your forked repository.
Note: it is best to avoid directly changing the files in the themes/ehri-nn directory, as this will make it
difficult to update the theme in future. You should instead override the files by creating a file with the same name
and path in the site root. For example, you can change the theme "cover images" (on the front page) simply by putting
JPEG images name theme-image-1.jpg, theme-image-2.jpg, and theme-image-3.jpg in the static/images
directory. These will override the files of the same name in the theme.
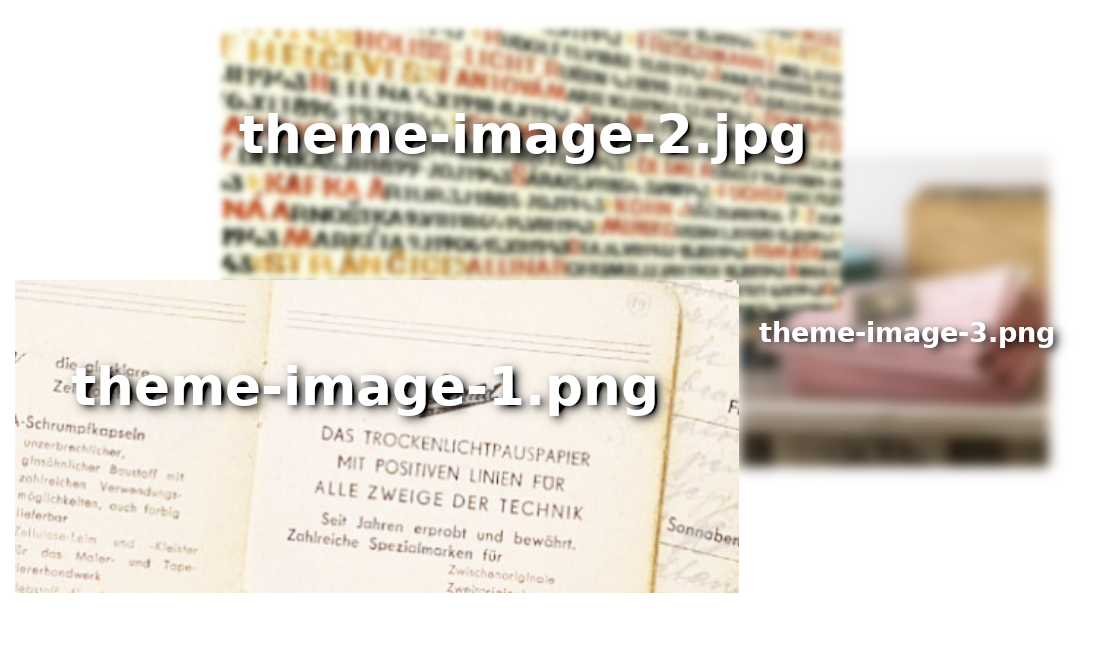
Replace the cover images in the theme by placing new images names theme-image-1.jpg, theme-image-2.jpg,
and theme-image-3.jpg in the static/images directory.
If you want to make changes to a partial template in the theme (for example, the footer), you can override it by
creating a file with the same name in the layouts/partials directory. For example, to change the footer, you
should create a file called layouts/partials/footer.html and add the following content:
<footer>
    <p>This is my custom footer</p>
</footer>
Customising the home page
The "main content" of the home page is generated from the file content/_index.md. However, because the content
of home pages are quite variable it uses a specific layout that is included in this skeleton site. If you want to
change the layout of the home page, you should edit the file layouts/index.html. Note that this file uses Hugo's
template syntax, which is documented at https://gohugo.io/templates/introduction/. Between the {{ define "main" }} and
{{ end }} tags, the Markdown in content/_index.md is rendered in the {{ .Content }} tag, but the template also
includes the hero video and various other data-driven sections which can be customised by editing the files in the data
directory, specifically data/services.en.yaml and data/latest.en.yaml. These sections can be completely removed
or new ones added as required.
Step 5: Translate the site
The template site is currently available in English and Welsh (sorry Welsh speakers, we did this with Google Translate.)
If you want to translate the site into another language, you will need to create a new file in the i18n directory
called <languageCode>.yaml. For example, if you want to translate the site into French, you should create a file
called fr.yaml. You can copy the contents of en.yaml from the theme's i18n directory (theme/ehri-nn/i18n/en.yaml)
and edit the strings to translate them into French. You should also add the language to the languages section of
config.yaml, remove references to the Welsh language data (the cy section), and add the appropriate menu items
to the menu section.
Translating existing markdown/HTML content
Under the content directory, and its subdirectories, various files are named with a .cy.md suffix. These are
Welsh translations for pages with the same base name. You should rename these files to match your new language,
for example, .fr.md and translate the contents appropriately.
Translating data-driven content
Some sections of the template site are data-driven, that is, the content is determined by data in the data directory.
For example, the "Latest" section of the front page is generated from the files in data/latest.[lang].yaml.
This data structures need to be duplicated for each language, with the textual content translated.
Step 6: Add content
The content of the site is stored in the content directory. Each page is stored in a separate file, and the directory
structure mirrors the structure of the site. For example, the page at
https://ehri.github.io/ehri-nn-hugo-template/about/
is generated from the file content/about.md. The content of the page is written in Markdown, which is a simple
markup language that is easy to learn. You can find more information about Markdown at https://www.markdownguide.org/.
A file named about.md is assumed to be in the default language set by defaultContentLanguage in config.yaml. If
you want to create a page in another language, you should create a file with the same name but with the language code
appended, e.g. about.en.md for English or about.fr.md for French. The content of the page should be written in the
appropriate language.
Front matter
Each page starts with a section called "front matter" which contains metadata about the page. This is written in YAML
format, which is a simple way of representing structured data. The front matter is enclosed in --- at the top of the
file, and contains a number of settings that control the appearance and behaviour of the page. For example, the front
matter for the about.md page looks like this:
---
title: About
---
The title setting controls the title of the page, which is displayed in the browser tab.
Content formats
While Markdown is a very convenient way of writing content, you can also use HTML if you need to achieve something
more specific. In this case you should use the html file extension, e.g. about.html, but include YAML
front matter at the top of the file. If you do not include front matter, the file will be treated as a static file
and will be copied to the output directory without any processing.
See the Hugo documentation for more information about content formats.
Content types
The type setting in the frontmatter controls how additional data-driven content is added to the page. For example,
the about page contains a list of people who work for the National Node. When the frontmatter contains type: about
the page will render using a particular template file that shows a list of people below the page content.
Similarly, the setting type: services will show a list of services specified by the information in data/services_en.yaml.
If you omit the type attribute in front matter it will use the default template, which is just the page content.
Shortcodes
Shortcodes in Hugo allow extending the functionality of Markdown in page content, and also allow themes to provide
specific hooks to change the way content looks. The EHRI NN theme provides one shortcode, intro which uses a
specific text style for introductory paragraphs. For example:
{{< intro >}}
This is an introductory paragraph. It is rendered in a different style to the rest of the text.
{{< /intro >}}
You can add additional shortcodes to your site by creating a shortcodes directory in the root of your site and
adding a file for each shortcode. For example, if you want to add a shortcode called myshortcode, you should
create a file called layouts/shortcodes/myshortcode.html. You can then use the shortcode in your page content like this:
{{< myshortcode >}}
This is some text that will be rendered using the shortcode.
{{< /myshortcode >}}
For more information on shortcodes see the Hugo documentation.
Images & Figures
Images are stored in the static/images directory. You can create subdirectories to organise your images, but
you will need to include the subdirectory name in the image URL when you reference it in your page content. For example,
if you have an image called myimage.jpg in a subdirectory called myimages, you would reference it in your page
content like this:

NB: The image URL about is relative to the page content, not the root of the site. If your site is at the root of a
domain you can use absolute URLs, e.g. , but this approach is slightly
less portable.
If you want a figure, i.e. an image with a caption, you can use the figure shortcode:
{{< figure src="../images/myimages/myimage.jpg" caption="This is my image" >}}
Step 7: Publish the site on Github Pages
If you forked the template repository, you can publish the site by pushing the changes to your forked repository. If you cloned the template repository, you will need to create a new repository on Github and push the changes to that.
Then, go to the repository settings and find the "Pages" section. Under "Build and deployment" change the "Source" to
"Github Actions" and click "Save". This will trigger a Github Action that will build the site and publish it to Github
when changes are pushed to the repository. The configuration that controls this is in .github/workflows/hugo.yml
and was copied from the Hugo Github Action example.
Step 8: Generating a final static version for hosting on a web server
For self-hosting your site the following Hugo command will generate a static version of the site in the public
directory:
hugo --minify --cleanDestinationDir
The --minify option will minify the HTML and CSS files and the --cleanDestinationDir option will
remove any files in the public directory that are not generated by Hugo. You can then copy the contents of the
public directory to your web server.
Various other options, for example the base URL of the site, can be overridden when generating the static version. See the Hugo documentation for more information.
Fetching updates to the theme
From time to time, the theme will be updated with new features or bug fixes. To fetch these updates, run the following
command in the themes/ehri-nn directory:
cd themes/ehri-nn
git pull origin main
Now, run the Hugo build on your site to ensure there are no errors and then run the server to ensure the theme changes have not caused any problems with the site HTML/CSS etc.
If all is good, you will need to commit the changes to the theme submodule in the my-nn-site repository:
git add themes/ehri-nn
git commit -m "Update theme"
Remember, be sure to check how your site looks after updating the theme, as the update may have broken something.
Troubleshooting
While using Git submodules is a nice way to keep the theme up to date, it can sometimes cause problems. If you get
errors when running hugo server or hugo commands, try running the following commands:
git submodule deinit --all
git submodule update --init --recursive
This will remove the submodule and re-add it, effectively removing all the code from themes/ehri-nn and
re-downloading it from Github. You may need to commit the changes to the submodule after running these commands.